Followers

Showing posts with label Product review. Show all posts

Tuesday, 20 December 2016

Chalkola review...

...part 2.

So I wanted to try the Chalkola ink markers on some different surfaces. I had already had a play on the whiteboards at work so now I wanted to try some glass and acetate.

One clean and dry jam jar at the ready and I was all set to see what I could do...
 ...the two packs of pens that I was sent - 'Earth' and 'Party' - provided a good selection of colours.
Starting with a white pen I created some 'snow' around the base of the jar...
 ...I wasn't sure what would be the best way of applying the colour - circle motion or straight strokes - it didn't really matter as the white gave a good coverage using either method.
Having let the white dry for a few moments...
 ...I had a go at adding a bare tree. Then a house...
 ...and I thought a fir tree was also needed. I added the green first of all...
 ...leaving gaps where the 'snow' would sit and then added the white to complete the look.
A second fir tree put in an appearance and then I let loose with the snow fall...
 ...the large bullet nib on the pens is perfect for applying the random dots...
 ...creating a pretty Winter scene ready to house a t-light.

The next thing I wanted to try with the pens was to see just how detailed an image I could get.

This adorable stamp is one I bought a while ago...
 ...and this is what it looks like coloured with my normal medium of choice - Copics...
 ...and as you can see, the shading is easy when you have almost 200 shades to chose from.
I placed a sheet of acetate over the stamped image and started to apply the Chalkola colours...
 ...starting with the hat. The pen sets I have been sent contain white but no grey so I used the pale blue to give texture to the fur trim - leaving the white to dry before adding the blue. The moisture of the pen ink does pick up a little of the previous colour but a quick scribble on a piece of scrap paper soon cleans that off. Across the two packs of pens there were two purples of different shades which helped to complete the hat. Having just one brown I had to use the cream coloured pen for the highlighted areas of the fur. I applied the cream first and when dry, went back with the brown. A bit of black & white for the nose & eyes and I was all done.
I found that by flipping the acetate over...
 ...the image from the reverse was more pleasing.
As for the t-light holder...


...not too bad is it.

The ink in the Chalkola pens applies smoothly and as long as you don't over prime the pens to get the ink flowing they give a nice even coverage. I found it easier to let each colour dry before moving on to the next colour - there will still be a bit of transference (especially on glass or acetate) but the lovely thing about these pens is that if you really don't like what has happened...grab a wet tissue or a wet-wipe and clean it off ready to start again.

The limited colours mean you have to think outside of the box a little bit. Users of Promarkers, Spectrum Noir or Copics will be used to having a much wider colour range at their finger tips but even with these limited colours it is still possible to create something quite detailed. You are not blending like you would with alcohol pens but laying the colours side by side. A little bit of blending does take place where colours overlap but I found things looked a bit messy if you tried to blend things on purpose - perhaps I just need a bit more practice but I feel these pens work best as they are.

Not sure what type of surface - it might even be a chalkboard.....................................................

Tuesday, 6 December 2016

Chalkola pens...

...part one.

When I opened the parcel that arrived containing the Chalkola pens I was extremely happy with the range of colours that there were - greens, reds, white, black, yellow, mauve - to name but a few.

We have a lot of whiteboards at work and I normally add a bit of Festive décor to the ones on our floor of the office (not that my 'free-hand' artistic skills are anything to write home about LOL).

I decided to add some Holly to the corners and duly 'primed' two reds and two greens.

Now if you have used barrel type pens before, you will be familiar with the process of getting them ready to use. With the lid on (yes, I have made the mistake in the past of not having the lid on - gold metallic ink can be a rotter to clean off when splattered everywhere **rollseyes**) shake the pen up & down a few times, keeping it up-right. Remove the lid and placing the bullet tip on a hard surface - I used a post-it note on my desk - press up and down a few times to start the ink flowing down into the nib.

Warning: please don't be too impatient at this point. It will take a few 'pumps' of the pen to get things going but don't go mad. I was a bit too enthusiastic with one of the green pens and I made it blob and it also ended up with ink running down my hand when I went to use it on a vertical surface. This was totally my fault as it didn't happen with any of the other pens - and no damage done as the pens are waterbased and wash off easily.

The primed pens write smoothly on non-porous surfaces so it was very easy to create a little sprig of holly in the corners of the whiteboards...
...for the berries I did some red balls in the lighter red and then added the darker red for definition  With the leaves I outlined the shape with the darker green, coloured in with the earthy green and then added the veins. The picture shows my first attempt - not bad considering I was at full stretch to reach the corner.

The chalk ink dries fairly quickly but until it is dry it is easy to smudge - not a problem - have a wet-wipe or a damp cloth handy and you can easily tidy up any smudges or blurred edges.

As you can see, the colours are clear & bright.

My next 'try-out' is going to be on a jam jar - I want to have a play with the white pen. Having a bit of a scribble on my glass mat shows the white to be bold and clean - a true white. So that will be my next project with these pens.

I'll see you back here for Chalkola - Part 2.........................................................................

Thursday, 1 December 2016

Happy Mail...

...from Chalkola.

I have been asked to review a selection of chalk ink pens from a company called Chalkola. The company contacted me and asked if I would be interested in trying some of their pens - free of charge.

Well, anyone who visits here on a regular basis will know that I can't resist a pen (I think my last count had my pen collection at around 1400 **chuckle**). So of course I said "Yes".

Once I responded, they were very quick at dispatching two packs of pens...
...one set in Earth tone and one in Party colours - unfortunately, I was at work on Tuesday so had to arrange to collect them from the sorting office Wednesday (a BIG thank you to my neighbour who picked them up for me so that I could collect them on my way home from work).

As I only got my hands on them late last evening, I haven't had a chance to play with them yet but I am taking them to work with me to see what they are like on things like whiteboards & windows.

It is perfect timing as I put up my office Chrimbo decs yesterday and hopefully these pens will be just the thing to add a bit of festive cheer to those boring old notice boards.

Do pop back and see how I got on.......................................................................

Monday, 13 June 2016

The Naked Flame...

...is now one of my weekly visiting places.

It is lovely to have a good candle shop within easy reach (although my bank manager would probably disagree LOL).

Ian has now started his own range of candles, as I have mentioned before, and is gradually building up his stock. This is proving to be quite a difficult task as folk keep buying them before they manage to get to the shelves - not a bad thing sales-wise but it hasn't allowed him to build up a display.

He started with the reed diffusers to introduce his range of fragrance and these seem to be going well - I have a Lemongrass & Ginger in the bedroom and a Paradise Beach in the bathroom...both fabulous.

The first batch of candles were in Lemongrass & Ginger and I have to say I adore this scent (I am very impatiently awaiting the next batch to be made as mine is down to the last half inch).

A week ago Ian produced the second fragrance line in his candles - Paradise Beach and I had to give it a go...
 ...the smell is wonderful - it really is like a burst of fresh air whilst walking along a beach...
 ...and like I normally do, this was burnt in the kitchen where I try most of my candles. The scent drifts into other parts of the house and creates a lovely 'fresh' feel. My only criticism of this candle was that it smoked a bit. This was due to the use of a different wick and Ian has noted the results for future production.
This weekend I noticed that some candles had actually made it to the shelves, including a couple called "Wedding Day"...very pleasant but not for me.
However, there were a batch of the next fragrance on the list ready to go...
 ...the "Lime, Basil & Mandarin" had to come home with me and I have been burning it over the weekend - lovely. Not quite as strong a fragrance as the two previous scents I have tried...
...but a very pleasant background fragrance. The wick issue seems to have been sorted too as this one is burning beautifully even with a good (but not excessive) flame and there is no evidence of smoking or sooting.
 
Of the six (now 7 with the introduction of Wedding Day) fragrances that are part of the Naked Flame range, there is probably just one more that I will want to try - "Sandalwood & Blackpepper". The other two are lovely but 'not me' so I don't think "Jasmine & Patchouli" or "Fresh Linen" will be coming home with me.
 
However, I eagerly await a restock of the "Lemongrass & Ginger" as this has to be my favourite so far.............................................................................

Friday, 3 June 2016

So what do I think of...

...the WRMK Alphabet punch board.

It is a very clever piece of equipment that allows you to cut all the letters of the alphabet, numbers and some punctuation symbols.

I've only had a brief 'play' with it but here is my opinion...

When you open the packaging, this is what the board looks like...
 ...it has a cutting area with a grid and cutting tool. A single function punch and a double function punch.
The board comes with a detailed instruction booklet...
...so all you need to do is decide what you want to cut your letters etc. from. Most of the letters are cut from pieces of card 3" x 5" but there are instructions for doing "M" & "W" from a 5" x 5" piece so that you don't have to join anything.
Wandering around the board...
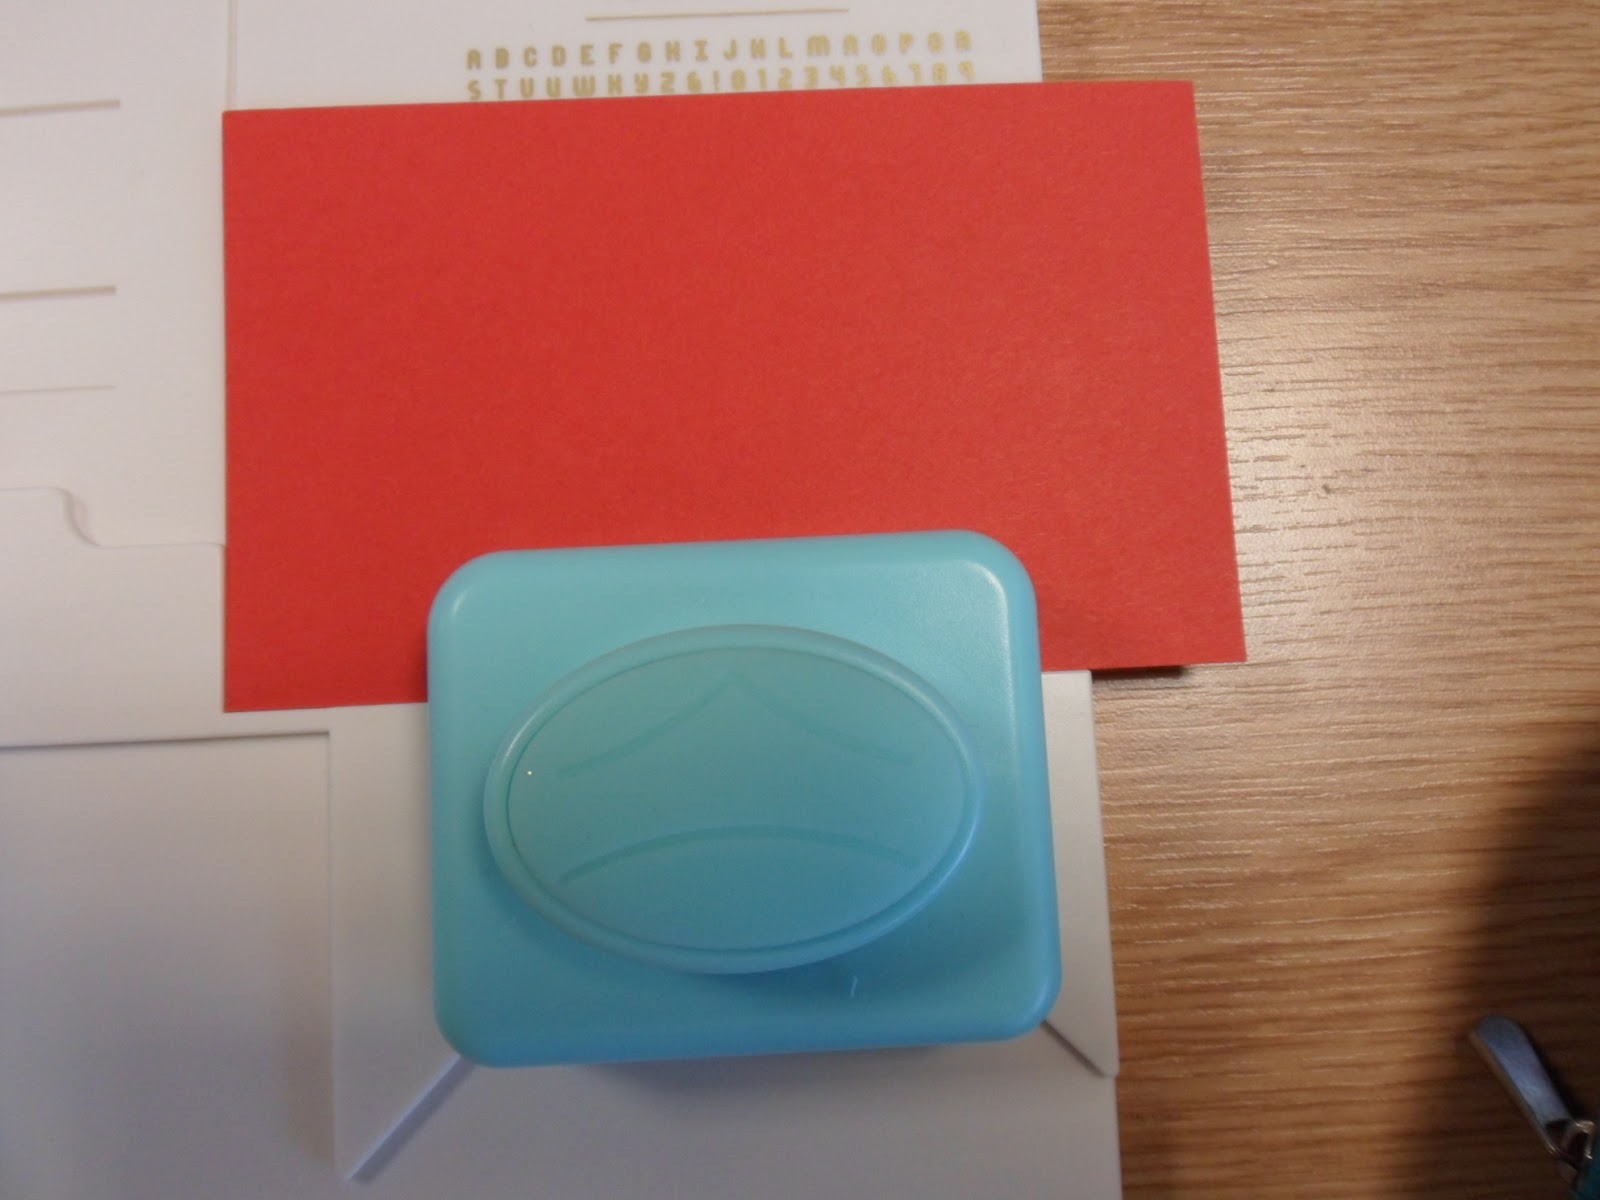
 ...the single function punch cuts a 'd-shaped' piece from your card and there are score marks on the board to help you ensure that you have placed your CS correctly.
The cutting area has a grid that is hinged and lifts up so that you can place/move your CS...
 ...this has magnets in it that help to keep it and your CS in place whilst cutting. The cutter is the small round blue item to the left of the photo and has its own storage area attached to the grid so it is always to hand. When cutting, this little tool slots onto the grid and you have a guide to slide along to create your cutting line.
The double function punch has a notched, curved 'v-shaped' cut at the top...
...and the board in this area has markings and raised areas that help you line up where you need your card to be before you 'cut'.
The bottom of the double function punch rounds off your corners...
 ...and works very much like a corner rounder - you slide your CS in to fit snuggly into the recess before punching.
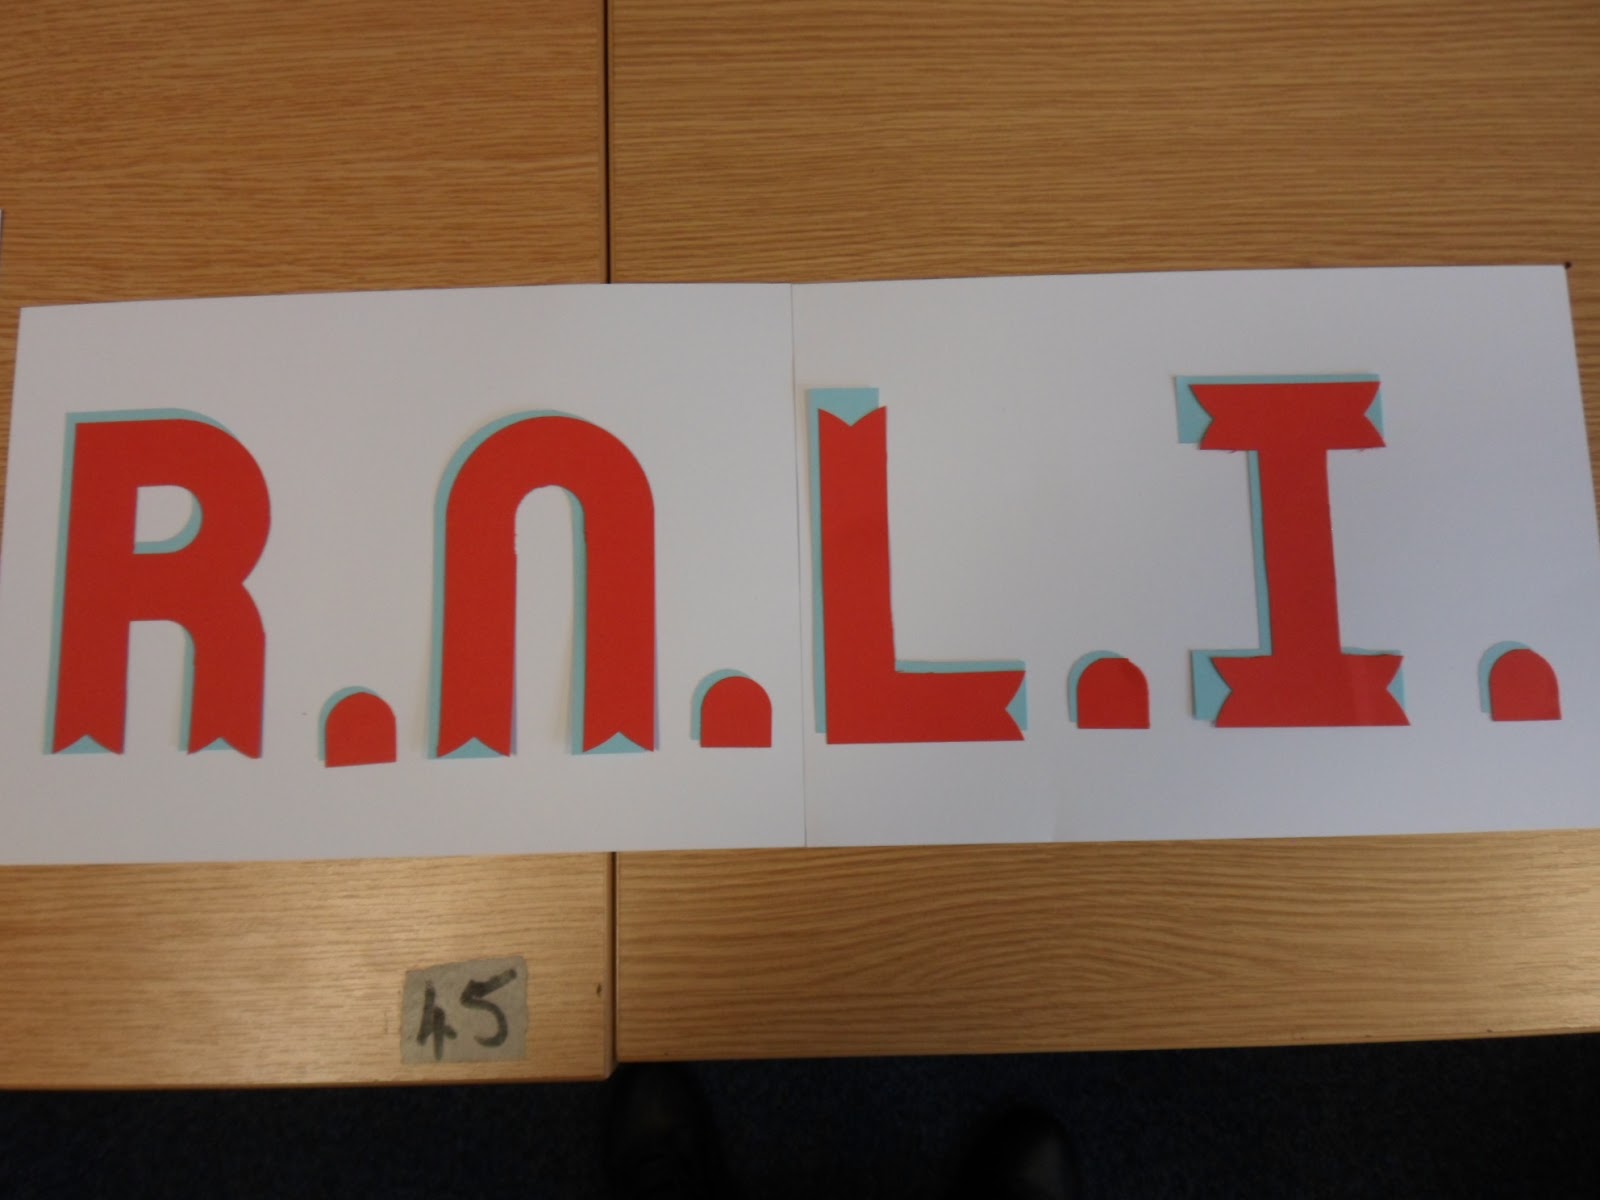
My 'play' was so that I could make some signs...
...I cut everything twice - once in blue (for the shadow) and once in red...
...I also used the curved 'v-shaped' punch to fancy up the edges of the red pieces.

So what do I really think...

PROs
* The letters/numbers are a good size for signs, bunting, scrapbook titles and initial/number greetings cards (you can actually cut letter shaped cards by using folded CS/PP).
* Once you have cut a stack of CS/PP the process is fairly quick & easy.
* The instruction booklet provides details for every letter & number. This is provided in step-by-step pictures of the actions you need to take.
* You can stick with plain style letters or you can pretty them up a bit with additional punching so you have the option of more than one style.
* There are quite a few YouTube videos out there so there are lots of ideas for getting the most out of your board.
* It is easy to use.

CONs
* You need to follow the instruction booklet carefully on some letters. On some of the images the CS is 'grey' - this means that you need to cut from the reverse otherwise you end up with some funny looking pieces, especially if you are using a PP.
* Even being very careful about cutting my CS pieces to the required size, I had a couple of incidents where the cutting on the grid area didn't quite line-up - a craft knife or scissors soon sorts this but you need to know that it does happen.
* The pieces are large - 3x5 or 5x5 so these letters/numbers will not be suitable for all your crafting but don't just think of the pieces as letters. On the packaging is an example of a scrapbook LO where one of the photos had been cut to form the title - so you still have your photo but also the title - two for the price of one.
* This punch board is more expensive than previous boards but then you have more functions, so I suppose it is swings & roundabouts.

At the end of the day, am I pleased that I bought it - yes.

It wasn't something that I rushed into, I thought about it for a few months and my purchase was actually well timed as far as the RNLI fund-raising is concerned.

So if you have been thinking about one of these, I hope my comments help................................

Sunday, 29 May 2016

This weekend is...

...flying by.

There I was, looking forward to a lovely long weekend and in the blink of an eye it is Sunday already.

I may not have achieved much in the crafting department (apart from a lovely bit of retail therapy at Pinnacle Crafts Members Weekend) but I have had a chance to try Ian's new range of candles and reed diffusers now available from Naked Flame.

He is hoping to have four sizes of jar candles but at present his supplier is out of stock of the largest size. However, from the other three sizes I picked the middle size and this is it burning merrily away...
 ...the wax has a fabulous smooth consistency and the wick is very good quality...
...no smoking or mushrooming. I had the candle burning for 7 hours and there was no need to trim the wick at all and there wasn't any debris floating in the liquid wax either.

As for the fragrance - I went for Lemongrass & Ginger. Wonderful scent. Strong enough that you notice it but not a 'slap in the face' type. I burnt the candle in my kitchen and the scent was filtering through to the lounge creating a lovely overall fragrance.

There will be a range of 6 different fragrances in Ian's Naked Flame range and I can tell you they all smell wonderful but the Lemongrass & Ginger is my favourite.

There have been a couple of additions to the dressing table as well.

The "Golden Sands" holder matches my wax warmer perfectly...
...I just love the way the light catches the golden shades in these glass pieces. The other addition...
...a Lemongrass & Ginger reed diffuser to replace the wooden container one you can see in the previous photo. One of the things that I've always disliked about using reeds is the need to faff around remembering to turn the reeds - these reeds don't need to be turned and they deliver the fragrance very quickly once they have been inserted into the liquid.

So at the moment, my home is smelling wonderfully of Lemongrass & Ginger.

The sky is looking very hazy so I'm not sure what the weather is intending in my neck of the woods.

For those of you in the UK, I hope you are able to enjoy the longer Bank Holiday weekend.

If you live in the Essex area (or near by), don't forget that it is still Members Weekend at Pinnacle Crafts and if you are a club member you can get a whopping 30% off most of the crafting goodies that they sell (there are exceptions - details are available on their website).

Disclaimer: Although Ian asked me to give him my opinion about his new products, it was my decision to share my views here on my blog. I also regularly promote Pinnacle Crafts as I think we have lost far too many craft stores in recent years and I like to support my local retailers.

Have a great weekend everyone.......................................................................

Friday, 18 October 2013

ThermoMorph...
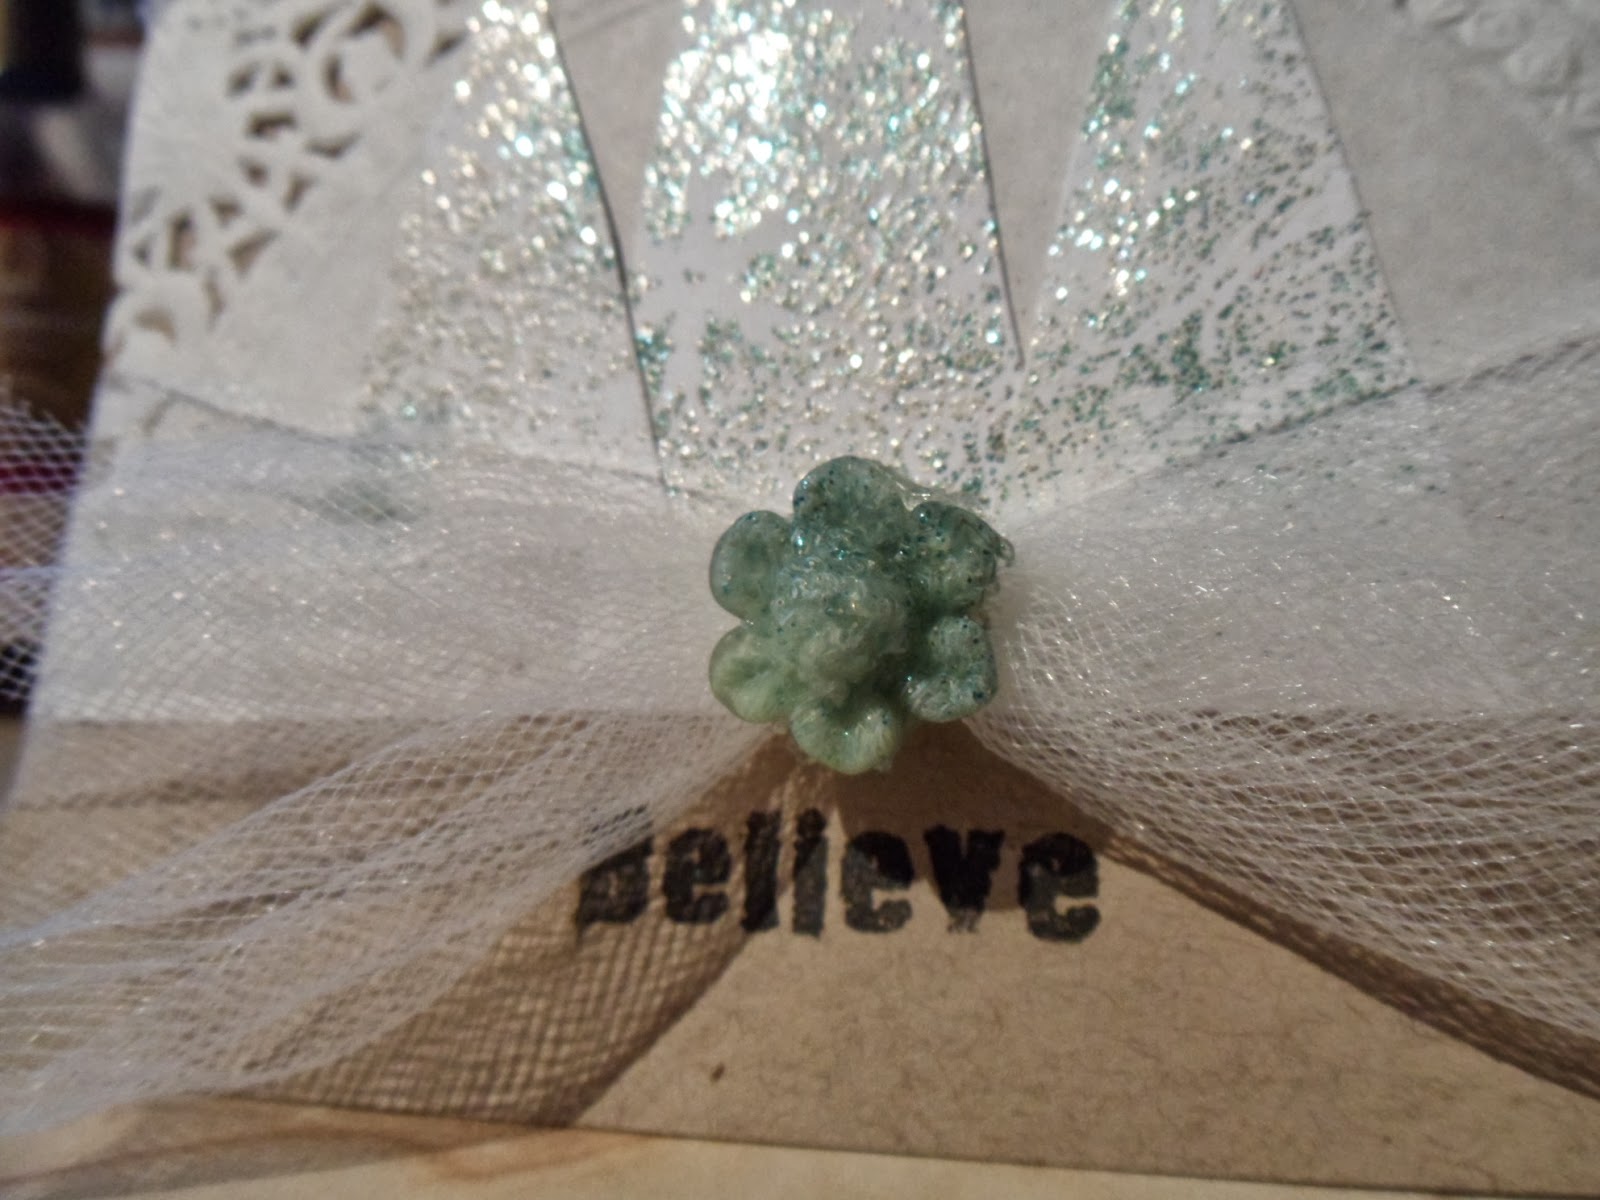
...if you've never heard of it read on.

Disclaimer: Although I received the product free of charge in order to try it out, I have not been paid for this review and the company stressed that they wanted me to give my honest opinion of their product.

A couple of weeks ago I received a very nice email from a guy called David Barrett. He had seen my Blog and wondered if I would be interested in trying out his product to see if it would be a useful thing to add to my crafting stash. Having given it some thought, I decided to give it a go and the ThermoMorph was duly requested and arrangements made to deliver it to Mum as she was more likely to be around at delivery times.

The box arrived very quickly and it contained this...
...a 500g tub of little white balls...
...lots & lots of little white balls.

Now I've never carried out a review of this type before so I wanted to make sure that I followed the instructions and gave the product a fair chance. The blurb says "ThermoMorph are mouldable plastic pellets that you heat up and mould into any shape or form. You're able to instantly fix things, make things, sculpt things or mould things; the uses are endless". Well that sounded pretty impressive but would it actually do what it said on the pot? Only one way to find out...

I love making embellishments from Ultra thick embossing powder or even just the ordinary embossing powders...

 ...and I know that with the help of a silicone mould...
 ...I can come up with something like this embellie that was used on a recent card that I made.

So the test for me was, how would ThermoMorph perform when used in a variety of moulds...
 ...some tiny, some very detailed, some not so detailed.

The pellets have to be added to (just off) boiling water and they become usable within 2 mins. I decided that the kitchen was probably the best place to try this as I would have a large heat-resistant, wipe-able surface and of course the kettle.

The product did what the instructions said - it turned clear and clumped together so that it could be moulded.

I tried it in the moulds as you can see...
...the first obvious difference to embossing powder is that the substance does not 'self-level' and it does not 'shrink' back in anyway. So my first efforts were a bit messy...
...but even on the tiny moulds it took on the detail really well. If you are wondering what is going on here...
 ...I added some embossing powder to the ThermoMorph to give it some colour - I still over-filled the mould because the product wasn't manipulating quite so easily but I think that this was because the water was starting to cool down (the instructions say that you have about 2 mins to work with the product before it starts to harden). It took very little of the embossing powder...
...to give the ThermoMorph a hint of colour.
I still had quite a bit of the ThermoMorph left...
 ...so I refreshed the hot water and returned it to the bowl...
 ...I found that it was soon as pliable as it had been to start with and I was able to produce this little lot within a very short space of time...
...and as you can see, the embossing powder gives it just a hint of colour and sparkle...
 ...I think you can also tell which ones were my second attempts as they show the details beautifully and look a lot tidier around the edges. You really don't need an awful lot of equipment to use this product...
...a bowl, boiling water and I used the tongs to stop myself from scalding my fingers when lifting the product from the hot water but it is soon cool enough to work with your hands...
What did I think of the product?

Well I have to say I was pretty impressed. It worked well in all the moulds I tried and even produced a pleasant effect when I added the coloured embossing powder. You do need to get used to the feel of the product and by my second attempts, I was able to judge the sort of quantity that I needed to use in each of the moulds. The fact that you can return it to the hot water to make it more malleable is a bonus and I also found that you don't have to wait until it has completely solidified before you can eject it from the mould - a great time saver if you need to do multiples of an item.

I have to admit, I was a little concerned about the price - the 500g tub retails at £19.95 - but, the eleven items I made above used less than two tablespoons of the product and if I compare this to items that I could purchase from one of my local craft shops (they make their own moulded embellishments from embossing powder), these eleven items would have cost me more than the tub of ThermoMorph.

The company say that there are other things that you can do with this product but all I have tried so far is the use with silicone moulds.

The product can be obtained from Amazon and having just checked that the link works, I also noticed that the price is currently showing as £17.95.

I am attending an all-day crop tomorrow and I think I'll take the tub along with me so that a friend can also have a 'play' and see what she thinks about the product.......................................................