Followers

Showing posts with label recycle. Show all posts

Wednesday, 13 April 2016

Spring cups...

...at Starbucks.

For those of you who pop by from time to time, I think you will have gathered that I'm a bit of a coffee addict. My day doesn't start until I've had my first mug and the day continues with regular "refueling" throughout.

I do love my Starbucks coffees and look forward to the various seasonal blends and flavours.

The sight of the first "Red cups" in the stores always heralds the arrival of one of my favourites - Gingerbread latte - Mmmmmmmmmmm.

Last year we also had a run-up to the red cups with some pretty Autumn designs - perfect for the likes of the Pumpkin Spiced latte.

Last week, whilst up in the centre of London, I noticed some pretty new designs. There are three designs - one for the Tall, Grande and the Vente. This is the 'Grande'...


...isn't it pretty. The design was created by "Olya" a shift supervisor in Russia.

I'm normally very good and use a re-usable cup for my coffees but on this occasion I so wanted one of these pretty cups (sad isn't it LOL) and I'll have to have a think about how I can recycle it so that I can keep this pretty design.

For anyone who visits Starbucks, they have a promotion on at the moment to encourage folk to use their own mugs/cups. Instead of the usual 25p discount for using your own cup, they are offering 50p discount for a period of two months (started 1 April 2016). They will accept any travel/re-usable mug that you have...it doesn't have to be one bought at Starbucks.

I'm off to grab another coffee before getting dressed.....................................................

Sunday, 14 June 2015

Time for a bit more...

...recycling.

Having washed & dried a few more glass jars I thought I should really put some to use.

The sticky labels that had once proclaimed what the contents of these jars had once been...
 ...had been soaked off, leaving the bare glass for whatever I decided to use for decoration.
Wanting to keep this one fairly quick & simple...
 ...I just grabbed a sheet of sticky-backed gems and some satin ribbon.
The gems were arranged in strips so it made it much easier to peel them from the acetate sheet...
 ...and apply them to the glass (you really didn't think I would apply this lot 'one-by-one', did you LOL).
I recently bought myself the magazine that was released to go with the Big & Bow-tiful bow makers. I had the CD that came with the original bow makers but I don't always have time to run it when I'm looking for ideas. The mag is perfect as it is quick to pick up and flick through and has step-by-step photo instructions on how to create different style bows.
Using the red satin ribbon...
 ...I created this triple layer bow to finish off the jar. Told you it was quick & easy.
A pretty jar that can be used as...
 ...a candle holder. I think it best to use the battery tea-lights as there is no flame to worry about and no wax to have to clear up - not too sure how well the bow and the gems would stand up to trying to clean out melted wax.
If candles are not your thing...
...how about a pretty pencil pot to sit on your desk or by the phone so that you always have a pencil to hand when you need one.

Although I used most of the sheet of gems, the total cost for this was little over £1. So not much to lay out to create something pretty and useful from something that would have gone out with the rubbish....................................................................

Tuesday, 3 March 2015

Some more...

...recycling.

The desk at work where I sit for part of the time is on the sunny side of the building and as such, the blinds are closed when the weather is nice otherwise you can't see the screen of the PC because of the glare.

This makes things very miserable as we are either shut off from the world to stop the glare or can only look out when it is dull or after dark.

I decided to cheer my desk up with a visit to the silk flower section in Poundland.

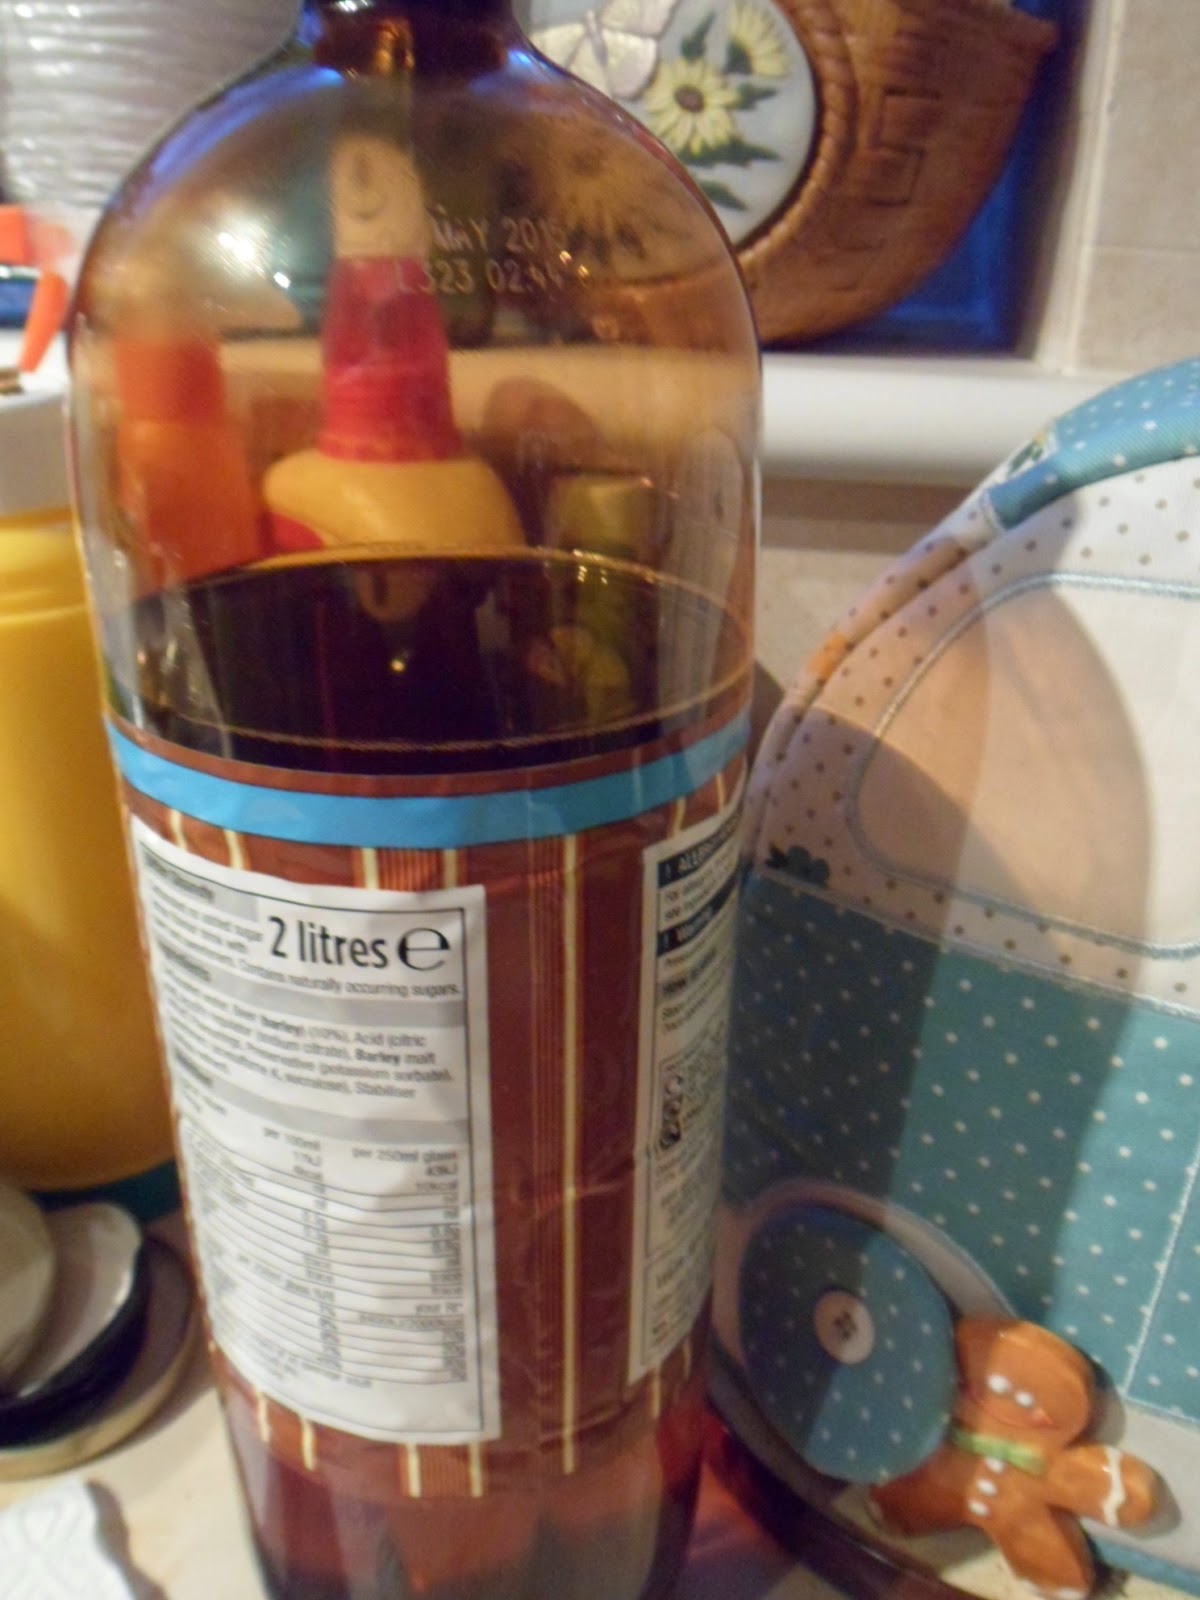
As I don't have any vases at work, I rescued an empty one of these from the bag that was...
 ...destined for the plastic recycling and went to work armed with...
...my bow maker, scissors and some ribbon.
This was the result...
...and as you can see - the background is still a glare nightmare even with the blinds closed.

The 'vase' was easy to make - if you look at the first photo above...I measured about an inch above the label on the bottle and cut the top off. I then removed the label and wrapped some plain white copier paper around the bottle keeping the bottom edge level with the desk and folding the excess over to the inside of the bottle to give a smoother edge around the top. Some ribbon to decorate and make a bow, then it was just a case of arranging the flowers.

Some of the flowers had stems that were way too long but rather than throw away the off cut, I made some ribbon picks to add to the arrangement.

Flowers - £6, Ribbon - £1(for a 50m roll of parcel ribbon), bottle & paper - free.

I used to use these 2litre bottles a lot for this kind of thing - a piece of pretty wrapping paper can help to colour co-ordinate and they are also great for real flowers as they will hold water.

Not a bad way to spend 10 mins of my lunch break..................................................................

Sunday, 11 January 2015

There seems to be...

...a lot of recycling going on.

Folk seem to be getting the year off to a start with organising & re/up cycling and many are combining the two.

If you hop around Blogland (or for those of you who 'Pin') you will have noticed a lot of new pen holders appearing - mostly made out of beautifully decorated tin cans. I don't use a lot of canned stuff but we certainly got through a fair amount of...
...over the Holiday period. I mean; what else are you supposed to eat with all that left over turkey LOL.
So the empties have been saved...
...and duly scrubbed.
Yesterday was the First Eastwood crop of 2015 and as usual I wasn't scrapping...
 ...I was up-cycling a gerkin jar.
My burlap wasn't quite long enough to wrap right round the jar...
...but that was fine because I layered some gingham paper and a patch of burlap to cover the gap.
I layered some cream cotton lace...
...onto burgundy satin ribbon...
...and also made a triple satin bow.
Here it is put together...
 ...it will be the perfect holder for my odds & ends and will sit on my desk at home.

The saga of the missing diary & note book is on-going and I'll be blowed if I'm going to fork out for another lot just for the originals to turn up - so a bit more re-cycling.

I had an old Deco calendar in my stash awaiting me finding time to chop it up for the pictures - it has now been given a new life - as you can see...
 ...more of the layered ribbon & lace. Topped off with some die-cut panels with "2015" and a bow with some roses.
This was a very quick 'make-over'...
 ...some layered die-cut panels to cover the old days...
 ...and a pocket calendar page (with inked edges) layered over the top.
The crop was smaller than usual...
...but everyone seemed to have a very productive day.
To finish off the day I made a couple of easel style cards as desk calendars...
...they don't take up too much space but add a little bit of colour and decoration - this one will be taking up residence on my desk at work.

The crop was held in the classroom above In2crafting at Wickford as the usual location was not available. It is a lovely bright space but next time I won't take the kitchen sink...as the only access is via some quite steep stairs - thank you John for the assistance coming down.

John had a large bolt of navy leather that was heading for the skip and he said if anyone could make use of it they could help themselves. I have come away with a nice large piece and I have some ideas involving more recycling. Will have to have a think about this as I have plenty of suitable jars and boxes awaiting my attention.........................................................................

Friday, 12 December 2014

Just where...

...did that week go?

I was going to be so organised and get some cards done for the "Catch the bug" Holiday Chaos event - yeh, right. Friday is here and I'm chasing around like a headless chicken.

Seven days, seven challenges...oh heck...where did the week go...

Saturday - Sparkle & Shine...
...plenty of bling on this with the clouds covered in Crystal Ice Stickles and some clear gems.
Sunday - Sketch...
...a bit of embossing on the card blank and then some gold edged squares topped with a fairy and finished off with a bow.
Monday - Colour challenge...
 ...using the colours from the selection given.
Tuesday - New release & Recipe...ran out of time.
Wednesday - Humorous Christmas...
...my favourite "JJ" relaxing in a glass - perfect for decorating a recycled gift bag.
Thursday - Christmas Critters...ran out of time.
Friday - Freebie Clean & Simple...ran out of time.

So I managed 4 out of the seven which is more than I thought I was going to manage.

Will someone please slow things down a bit...how can it possibly be Christmas in two weeks time...EEEEEEK!!!

But worse than that - it is the Toby carvery crop tomorrow and I haven't even made a start on packing for it.......................................................................................

Tuesday, 4 March 2014

So what do you do with yours...

...I mean your old calendars.

I love the Deco Ladies that you can get in that well know high street card store. They are not cheap but every year I take advantage of their "Buy one - get one half price" so that I have one in the kitchen and one on my desk.

This is the 2014 one currently hanging in the kitchen...
...it is in a handy location so that it can be checked on the way out to the car.

The images are beautiful but when the year is over what do you do with them? It seems a crime to throw them in the bin (even if it is the re-cycling bin). So I chop mine up and retain the pictures for future use.

This is a card I made with the November image from the 2013 calendar...
 ...I picked the November one because my birthday is that month and it seemed a good place to start.
The image has been mounted behind an embossed frame...
 ...this was made from white linen effect CS...
 ...and run through the new 6x6 embossing folder from Xcut that is part of the current DoCrafts promotion. The red PP has been roughly edged with a stitch ripper (tip I saw in a magazine somewhere).
As you can see. I cut the oval from the centre of the embossed piece...
...so that it created an oval frame for the image.

The card was made using the following: -
Papermania 8x8 White card blank
Red PP from the Sew Lovely range (the previous DoCrafts promotion)
White linen effect CS
White card candi from Craftwork cards
Rose frame embossing 6x6 folder from X-Cut.

Why not see what you have available and do a bit of crafty re-cycling............................

Sunday, 24 March 2013

A Night to Remember...

...captured in a Cluedo themed memory book.

Lots of photos but I'll try and keep the waffle to a minimum LOL

You have already seen what the outside of the book looks like as I posted this pic in the previous post.

However, I thought I'd post it again and just let you know a bit about what you are seeing. I decided to go with 1.5inch book-rings rather than using my Bind-it-All (largest o-wires are only 1.25inches and it would also restrict the recipient from adding any other keepsakes)and used my crop-a-dile to set an eyelet at the leading edge on both the front & back to attach ribbon closures.
The first few pages just introduce the main characters - Mrs White (Patsy)...

...Col. Mustard (Simon)...

...and Miss Scarlett (Paula).
The playing cards from the game provided great themed embellies...

...and the "Detective Notes" sheets will be perfect for Simon to add some journalling before the book is handed over.
There is at least a double spread for each of the 'rooms' that appear on the playing board...

...this one, as you can see, is the 'Study' - well she is sat at her desk; what more do you want **giggle** - and throughout the book the RH page has backing paper created by photocopying the appropriate part of the playing board.
The LH pages are much plainer. Some have photos...

...with embellies and some just have the playing card embellies.
Some of the photos were 'staged' by Simon...

...it was the only way we could ensure that there were suitable pics for every room.
Some photos didn't need staging...

...food? - kitchen; of course!.
There were numerous group photos...

...and as you can see...

...the Detective Notes will be useful for Simon to record the names of the folk in the pictures.
A bit of a knees-up...

...in the 'Ballroom'.
Definitely a staged pic...

...I think she would have had more luck potting the balls with a cue rather than a pint LOL
At the back of the book I made a pocket page...

...which will be ideal for containing small keepsakes.
On the very back page I've used the 'Murder cards' envelope...

...I tucked a couple of tags in the envelope so that Paula and Simon can write their own wishes.
I didn't have a full set of playing pieces but the ones that I did have are joined together to create a 'danglie' from the book-rings...

...and all the book-rings were decorated with a mix of ribbons/fibres/string.
The title on the front cover was created on a panel of black CS edged with gold pen and the lettering was from the Papermania 'Deco' range.

I hope she likes the book and it really does bring back memories of a night to remember....................................................................

Thinking outside of...

...the box - a boardgame box to be precise.

When a colleague asked me to do a memory book for someone who had recently been promoted and would be moving to a new office, the first thing I asked was - are there any particular colours or themes you want used.

The reply was; "Funny you should say that but..."

The 'but' was that the book should be linked in some way to the game Cluedo as the leaver was known by the nickname 'Mrs White' and her closest friends/colleagues as 'Col. Mustard & Miss Scarlet'.

I didn't think that obtaining related images would be a problem (the web is a wonderful place...) but I thought it might be a bit difficult obtaining charms/embellishments in the "weapons of choice" - after all, how often do you need a lead pipe on a layout ???

Being slightly stumped for ideas I placed a question on the UKS forums asking if anyone had any ideas about Cluedo related stuff. I had been thinking along the lines of getting a travel size version of the game but having looked at them in the shops they seemed to be in a new print format and I really wanted the traditional style. Whilst looking at the new games a thought struck and my re-cycling tendancies came to mind.

A quick visit to a local charity shop and I came away with this...

...it cost me the grand sum of £1.99.
I had originally thought of photocopying the board at A3 size and using the paper to cover some chipboard/greyboard to make the covers but seeing the actual board I had another idea...

...and attacked it with a craft knife.
By cutting at the right point I created a cover just slightly larger than 8x8...

...it also meant that the inside of the covers were already lined with the actual playing board (or at least part of it).
This was the starting point for the memory album...

...a lovely textured board set of covers.

This is how it ended up...

...the polkadot washii tape finished off the edges (hiding the fact that there were cut edges) and the book-rings will allow the person receiving the book to add other bits if they so wish.

I'll show you the inside of the book in another post - be warned it will be photo-heavy and you'll probably need to grab a cuppa before you start LOL

I wonder how many of you have old boardgames tucked away in the cupboard...pieces missing so you can't actually play the game but you have never gotten around to throwing them out ???

Now obviously my £1.99 at the charity shop did not get me a complete game but the board was there and in very good condition. There was a complete set of game cards which have been very useful as embellishments and there were 'some' of the playing pieces. What have you got in the cupboard that you could use?

Howabout creating a mini album using the pieces from a boardgame to hold Christmas photos - in our family we always had a new boardgame every Christmas and we sat down as a family after lunch to play the new game. Wouldn't it be great to pull out those photos and place them in a 'themed' album?

The game might come in a box but it is amazing what you can come up with if you think outside of it.........................................................