Followers

Showing posts with label altered art. Show all posts

Sunday, 22 February 2015

I think it's time...

...you were introduced to Andy Pearson.

Andy & his family own and run Pinnacle Crafts which is located within the Barleylands Craft Village in Essex. This is Andy...
 ...demonstrating a technique that formed part of yesterday's "Snap, Crackle & Pop" workshop.

Andy holds a number of Saturday, all day workshops throughout the year and they are always fun and a great place to try new techniques or have a play with ones you may not have used for a while. Andy also does a number of Demo Days each year where he will take some crafting items and show you how to think outside the box so that you get even more use from your products - the next demo day is on 28 Feb 2015 and will be showing how to get the most out of your WeRMemory Keepers Punch & Score boards.

Andy was on the design team for Cuttlebug but is now a member of the DT for Creative Expressions and you can see his work over on their blog every Wednesday. A day they keep for the boys on their DT (some other Creative Expressions names you may be familiar with...John Lockwood,Sue Wilson, Phill Martin). Andy has a blog linked to the shop and a crafting Facebook page - details can be found on the Pinnacles site here.

So now you have met Andy, this is what we did yesterday (lots of photos so you might want to grab a cuppa)...

Starting off with some 4x4 squares of greyboard...
 ...these were to be our practice pieces...
...the first square was given a coat of black acrylic paint and dried off with a heat gun...
 ...the square was then given a good coat of PVA glue (we used Cosmic Shimmer but any brand would give the same results). This coat was given a quick blast with the heat gun just to create a 'skin' before a coat of white acrylic Chalk paint was brushed carefully over the top...
 ...this was dried with the heat gun and as you can see - lots of lovely cracks and texture.
Creative Expressions gilding wax in Graceful blue and Graceful Mustard was applied...
 ...and buffed to a sheen before some Stazon in Azure...
 ...was swiped over the top. We were then left to play experiment...
 ...different coloured paints. Gilding wax colours applied in different orders...
 ...mixtures of Stazon colours...
 ...all created some very...
 ...different looks...
 ...even though the base coat had been black.
I then tried some pieces where the base was white...
 ...and also wanted to try some metallic acrylic paints...
...the top coat on these was silver...
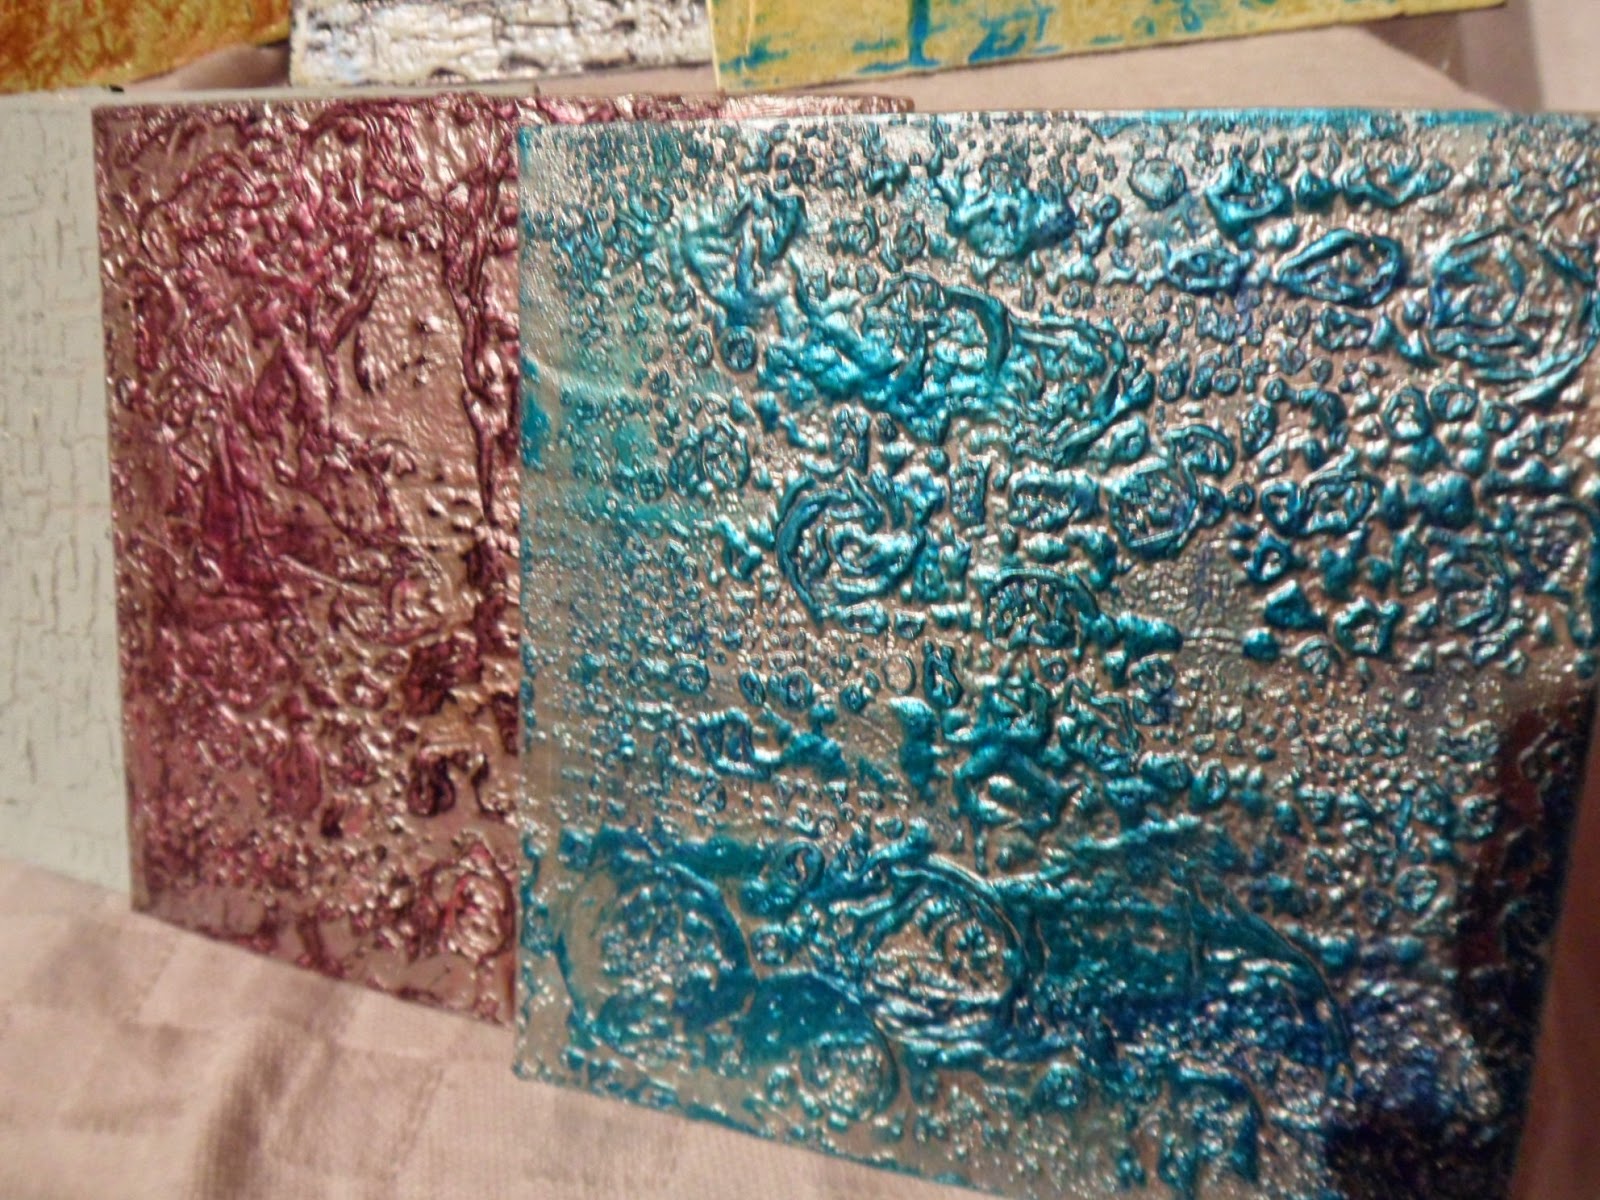
 ...and as you can see. Instead of 'crackle' this is where the 'pop' came into things. The panels bubbled and created a fabulous texture.
This square was white base with Sea Spray (light mint green) as a top coat...
 ...it cracked beautifully but wasn't easily noticeable...
 ...so I tried the same top colour over a black base - much more dramatic.
Once the silver painted panels had cooled...
...one was waxed with Gleam Patina Blue and Creative Expressions Graceful Mint before being swiped with Teal Stazon. The other panel...
...was waxed with Gleam Cerise and Rich Copper. I used two colours of Stazon on this one...
...Black and Cherry Red.
These are all the panels photographed together once I got them home...


...I'm not sure what I'm going to do with these. I may make a canvas display to show them off or I might use them as backgrounds for some mini hangings. Something I need to give some thought to.

That was all the experimenting but if you pop back tomorrow, I'll show you what I did with the techniques.........................................................


Monday, 16 February 2015

Got a bit...

...side-tracked.

I have the body of my "Verona" storage cabinet all glued together and ready for painting...
 ...but I had run out of paint because I got distracted by this...
...an MDF unit from Creative Expressions that will hold my glues and glitters.
It went together in no time at all and I thought I would 'crackle' it...
...the crackle medium that I used isn't one I had used before (Artiste) and I don't think I put a thick enough coat on. I know I let everything dry properly, so that wasn't the problem...
...but there wasn't a lot of cracking going on. What did happen was that I used the last of my paint so had to ask Joanne at Pinnacle Crafts if she would kindly order in some more so that I can finish off the Verona cabinet (she did and I picked it up Saturday).

I think I might give this unit a bit of a spritz with some of my Distress Spray Stains.

In the meantime, I'd better get the body of the 'Verona' painted so that I can attach the PP panels and get it finished.

I really must stop getting distracted like this...I wonder if the Distress Ink Pad storage takes long to put together...no; I must stick to these and get them finished...but those other cabinets are oh, so tempting.........................................................................

Sunday, 11 January 2015

There seems to be...

...a lot of recycling going on.

Folk seem to be getting the year off to a start with organising & re/up cycling and many are combining the two.

If you hop around Blogland (or for those of you who 'Pin') you will have noticed a lot of new pen holders appearing - mostly made out of beautifully decorated tin cans. I don't use a lot of canned stuff but we certainly got through a fair amount of...
...over the Holiday period. I mean; what else are you supposed to eat with all that left over turkey LOL.
So the empties have been saved...
...and duly scrubbed.
Yesterday was the First Eastwood crop of 2015 and as usual I wasn't scrapping...
 ...I was up-cycling a gerkin jar.
My burlap wasn't quite long enough to wrap right round the jar...
...but that was fine because I layered some gingham paper and a patch of burlap to cover the gap.
I layered some cream cotton lace...
...onto burgundy satin ribbon...
...and also made a triple satin bow.
Here it is put together...
 ...it will be the perfect holder for my odds & ends and will sit on my desk at home.

The saga of the missing diary & note book is on-going and I'll be blowed if I'm going to fork out for another lot just for the originals to turn up - so a bit more re-cycling.

I had an old Deco calendar in my stash awaiting me finding time to chop it up for the pictures - it has now been given a new life - as you can see...
 ...more of the layered ribbon & lace. Topped off with some die-cut panels with "2015" and a bow with some roses.
This was a very quick 'make-over'...
 ...some layered die-cut panels to cover the old days...
 ...and a pocket calendar page (with inked edges) layered over the top.
The crop was smaller than usual...
...but everyone seemed to have a very productive day.
To finish off the day I made a couple of easel style cards as desk calendars...
...they don't take up too much space but add a little bit of colour and decoration - this one will be taking up residence on my desk at work.

The crop was held in the classroom above In2crafting at Wickford as the usual location was not available. It is a lovely bright space but next time I won't take the kitchen sink...as the only access is via some quite steep stairs - thank you John for the assistance coming down.

John had a large bolt of navy leather that was heading for the skip and he said if anyone could make use of it they could help themselves. I have come away with a nice large piece and I have some ideas involving more recycling. Will have to have a think about this as I have plenty of suitable jars and boxes awaiting my attention.........................................................................

Sunday, 23 November 2014

The perfect way...

...to spend a birthday.

The weather was pretty awful but it didn't matter because the company was great and we all enjoyed getting mucky.

Andy ran a similar workshop earlier in the year but this time we were thinking more about Christmas and making a decorative piece for the home or to give as a gift.

Starting with a 12x12 pre-gesso'd canvas we were let loose to rummage through boxes of embellies and dies...
 ...roughly planning out the layout before making a start on the actual piece.

As this was a Christmas piece I wanted to use one of Ignacio's Christmas digi images (Nicecrane Designs) as a focal point on the piece - who better than Santa arriving with the gifts.

Having carefully transferred all the bits & bobs onto a sheet...
...I made a start adding some texture to the canvas using texture paste and stencils...
 ...some brickwork and snowflakes seemed ideal...

 ...and then I started adding some burlap - the texture and the frayed edges create a lot of interest...
 ...and is easy to wrap over to the sides to continue the 'look'.

All the bits & bobs were gradually attached to the canvas and given a good coating of gesso...
 ...a trusty post-it note protected the printed image.

Things never go back onto the canvas in the same layout as you start with - bits get moved and you come across other things that you want to add but it doesn't matter - the idea is to create something that you find pleasing.

Once everything was on and coated with gesso, the whole thing was given a blast with a heat gun to ensure it was completely dry before adding some colour...
 ...I covered everything with acrylic paint and then spritzed with a Tim Holts Distress spray in a brass shade...
 ...the spray is great for getting into all the nooks & crannies that brushes find difficult...
...I then used some gold acrylic paint to dry-brush certain areas to give more depth.

When the light improves a bit, I'll take some pictures of it on the wall.

My friend Hilary went for a red & gold theme...
 ...I love the wooden words that she used.
Tina kept her canvas fairly pale with a slight hint of cream...
 ...and highlighted some areas with a light plum shade.
Andy also played during the workshop...
...and his was a lovely blue & silver scheme with lots of texture.
Tina's daughter decided she didn't want a Christmas piece. So she made her canvas for her bedroom...
...and included the name of her favourite band. The 'firework' effect around the edge was hand painted with a variety of acrylic paints.

Considering we all started with a white canvas, all five pieces ended up very different.

There was a sixth canvas that was sprayed and had five Sizzix lampposts attached to it - that was my birthday present from the class...a starting point for me to have a play with. When I make up my mind what I'm going to add to it, I'll show you all some pictures.

I really enjoyed my day - so thank you to Andy & Pinnacle Crafts and Hilary & my fellow crafters for making my day so special. I had a fabulous time.........................................................