Followers

Thursday 31 October 2013

The Witching Hour...

...is almost here.

(This is a photo heavy post so go grab a cuppa and settle yourself comfortably)

To start off with, I just wanted to show that I treat all my staff alike...
 ...one spooky Halloween lollipop hat - a la Stratford **cackle**

For those of you who have been crafting a while - who remembers Doodlebug Designs Inc ?

When I first started scrapbooking, it was one of the few ranges that did co-ordinated 'stuff' at a reasonable price. It was a great starter range but I soon moved on to the likes of Junkitz, BoBunny and Basic Grey. Now you know what I'm going to say next **giggle** - whilst tidying & re-organising...LOL...

Yep, I came across a whole load of Doodlebug Halloween papers and stickers along with a load of ribbons and fibres that I had obviously bought for a purpose - but equally obviously, never got around to using. All change!

Grabbing some C6 buff envelopes, some book rings and some Black soot Distress ink along with some wonderful images from Nicecrane - some pre-coloured, some I've coloured with Inktense pencils, Spectrum Noir pens or Copics - I came up with this...
 ...lots of lovely ribbons and stuff decorating the book rings...
 ...on a little Halloween mini-album. Fun & funky.
A closer look at the front of the book...
 ...and you can see that I added some tabs to some of the pages (not the best of photos).
The right-hand page here has one of the pre-coloured images from the Halloween Kids collection...
 ...that you can find here.
This little Miss is coloured using the pencils for everything except for the skin...
...for that I resorted to my tried & trusted Copics. This image is part of the collection that you can find here.
Another image from the Halloween Kids...
...I just love the artwork on these images.
I left these pages to speak for themselves...
 ...at least until a suitable photo adorns them.
Another Nicecrane image...
 ...and you can also see some of the tabs on the pages more clearly in this photo.
The perfect image to go with all those pumpkins...
 ...don't you think?
The next couple of photos contain images that I have coloured myself...
 ...this one was a 'freebie' that Ignacio kindly offered on his blog and I've coloured it using a mix of Spectrum Noir & Copic pens. The next one was also a 'freebie'...
...and she was coloured using just the Spectrum Noirs.

There are some fabulous images available over at the Nicecrane Design site - and don't worry, if Halloween isn't your 'thing' there are plenty of other subjects to choose from. You can also hop over to the blog to see all the fab items that other DT members have created.

If you are celebrating Halloween - have a Spook-tack-u-lar time.........................................................

Saturday 26 October 2013

It's all...

...Black & White.

The Stampendous "Snowy Postcard" has been put to use again - this time I used some WOW 'Sparkling snow' embossing powder on some basic smooth black CS.

I just love the way it has come together and I feel that it was more masculine than the other finishes I've tried...
 ...so I kept the decoration very simple with a touch of black ribbon and a digital sentiment (by Lynne Salmon).

I haven't done an awful lot of heat embossing until recently (I had put my heat gun away safely somewhere) but this stamp certainly lends itself to this technique...
...I am sooooooooooooo in love with this stamp - the detail is just amazing...
...even when you look more closely at the finish, the detail is still there.

Because of the way this embossing powder shows up on the black CS, I had a bit more of a play using some freebie bauble stamps that recently came with a magazine. I'll let you see what I've done when I decide what style of cards I want to add the stamped / embossed panels too.

But as far as this stamp is concerned - I think you'll be seeing plenty more examples.................................................................................

Wednesday 23 October 2013

The Big Knit...

...will be receiving this collection of hats.

When my 'Boss' issued the challenge last week to all the knitters in her command - I came home and knitted a hat just to get an idea of how long it would take. By the following morning I had completed four.

Staying overnight in a Travelodge for work last week saw me knitting away at 4am (well, what else is a person supposed to do when they can't sleep ?).

Things did slow down a little as the chilly damp weather started to play havoc with the old 'arfa-ri-tis' but by Saturday I had this little lot...
 ...I had hoped to do some more but my fingers and wrists are objecting quite strongly.
Still, I don't think this was too bad an effort...
...a glittery one and some stripy ones...
 ...a pink beanie...
...one with some eyelet lace going on...
 ...a selection with loops & pom-poms on top...
...one sporting some buttons...
...another with a pom-pom and one with a striped crown.

So this little lot will be winging their way off to the Innocent smoothie folk to help raise money for Age UK. Remember, for every bottle with a hat that is sold during November, Innocent will donate 25p towards helping to keep older folk warm this Winter.

If you are a knitter, there is still time for you to get those needles clicking - the deadline for receiving the hats has been extended...you have until 31 October to get your completed hats to the Innocent smoothie folk.

Go on, give it a go...................................................................


Simply Christmas...

...will be kicking off at the end of next week.

This is the 4th year that Kerryanne English has organised this event...
...so do hop on over to her blog to find out more..........................................................................


Tuesday 22 October 2013

Trick or Treats...

...for my staff.

Well I did say that I might consider filling some Halloween treat cones and putting them on a tree at work. Thing was, when I went to get a glitter tree - I found glitter hats as well...so I just had to get one of each.

This is a picture taken during the decorating process...
 ...loads of lolly-pops stuck through the mesh of the hat...
 ...and cones filled with chocolate coated cherry jelly beans or foil covered chocolate pumpkins.

Umm, what's going on here...
 ...a bit of man-handling of the lolly-pops by Weasel...
 ...don't try and look innocent - I saw you LOL

OOOPs!!!

The decorating of the tree didn't go quite how I planned...
...flying tree, flying jelly beans and flying pumpkins.
 If I work quickly no-one will know...
...drat!!! The Weasel nabbed my camera - Ummm, still...don't think anyone else noticed.

Well, that wasn't what I intended when I set out to decorate my desk - chocolate jelly bean anyone?.......................................................

Sunday 20 October 2013

Variation...

..on a theme.

I so love the Stampendous "Snowy Postcard" cling stamp - it just 'says' Christmas...which ever way you look at it.

At the crop yesterday, I had a bit of a play.

This one was stamped using gathered twigs Distress ink and Antique linen was used to 'age' it...
 ...but unlike previous versions I have made; I did some matt & layering, added a bow and also a little wreath charm. The holly was coloured with Inktense pencils. This stamp really is a dream to use and you don't need to do much to it to create a lovely card (I've seen a similar stamp of a steam train over on Marianne's blog that I might just have to get too).

Regular visitors to my blog will know that I am endeavouring to get my craft space organised & tidy and that I keep finding things I either knew I had but couldn't find or had forgotten about completely.

Now I knew I had a lovely selection of WOW embossing powders somewhere but I had forgotten what colours. I was over the moon to discover that I had a lovely aqua glitter embossing powder amongst them, so I had a bit of a play...
...and this is what I came up with. Such a lovely icy feel to this (oh, that isn't the glitter falling off on the work surface - that is the reflection of the miri card).
 
I stamped and embossed four images in this colour (mainly because I couldn't get all the embossing powder back in the tub LOL - it came out of there so why so difficult to fit back in???) and I think I'll have a bit of a play with different embellishments and ways of mounting.
 
I might even have a play with some other colour-ways...after all, I found a whole case full of the WOW Christmas colours so I really ought to put them to use............................................................


It's been one of those weeks...

...you know; the type where you seem to chase your own tail for ever and get nowhere LOL

Well yesterday, was a crafting day...I didn't get a huge amount done but it was fun being with a group of fellow crafters and there weren't any distractions like the ones that normally occur at home - phone ringing, housework to do, the ironing pile making you feel guilty...

I have been playing with Ignacio's fabulous Christmas design set but so far I've coloured the images.

This is the set that I've been using...
...and you can find them here.

Now I have loved colouring the images but I wanted to try just using the grey-scale and just print them out in black & white - well that was my intention but as you can see...
 ...a splash of red managed to find its way in. (Sorry about the glare but the lights were catching the foiling and the shiny surface of the card).
The detail on this image is amazing so I was going to leave it completely un-coloured...
...but as you can see - I decided to give Santa a touch of red using a soft red colouring pencil.
Postal costs here in the UK have become very expensive so I didn't want to add too much bulk to the card...
...and to be honest, with the pattern on the base CS I don't think it really needs anything else.

This is just one of the fabulous sets of images that you can find over at the Nicecrane Design site and if you drop by the blog too you will see lots of wonderful inspiration from the DT...............................

Friday 18 October 2013

ThermoMorph...

...if you've never heard of it read on.

Disclaimer: Although I received the product free of charge in order to try it out, I have not been paid for this review and the company stressed that they wanted me to give my honest opinion of their product.

A couple of weeks ago I received a very nice email from a guy called David Barrett. He had seen my Blog and wondered if I would be interested in trying out his product to see if it would be a useful thing to add to my crafting stash. Having given it some thought, I decided to give it a go and the ThermoMorph was duly requested and arrangements made to deliver it to Mum as she was more likely to be around at delivery times.

The box arrived very quickly and it contained this...
...a 500g tub of little white balls...
...lots & lots of little white balls.

Now I've never carried out a review of this type before so I wanted to make sure that I followed the instructions and gave the product a fair chance. The blurb says "ThermoMorph are mouldable plastic pellets that you heat up and mould into any shape or form. You're able to instantly fix things, make things, sculpt things or mould things; the uses are endless". Well that sounded pretty impressive but would it actually do what it said on the pot? Only one way to find out...

I love making embellishments from Ultra thick embossing powder or even just the ordinary embossing powders...
 ...and I know that with the help of a silicone mould...
 ...I can come up with something like this embellie that was used on a recent card that I made.

So the test for me was, how would ThermoMorph perform when used in a variety of moulds...
 ...some tiny, some very detailed, some not so detailed.

The pellets have to be added to (just off) boiling water and they become usable within 2 mins. I decided that the kitchen was probably the best place to try this as I would have a large heat-resistant, wipe-able surface and of course the kettle.

The product did what the instructions said - it turned clear and clumped together so that it could be moulded.

I tried it in the moulds as you can see...
...the first obvious difference to embossing powder is that the substance does not 'self-level' and it does not 'shrink' back in anyway. So my first efforts were a bit messy...
...but even on the tiny moulds it took on the detail really well. If you are wondering what is going on here...
 ...I added some embossing powder to the ThermoMorph to give it some colour - I still over-filled the mould because the product wasn't manipulating quite so easily but I think that this was because the water was starting to cool down (the instructions say that you have about 2 mins to work with the product before it starts to harden). It took very little of the embossing powder...
...to give the ThermoMorph a hint of colour.
I still had quite a bit of the ThermoMorph left...
 ...so I refreshed the hot water and returned it to the bowl...
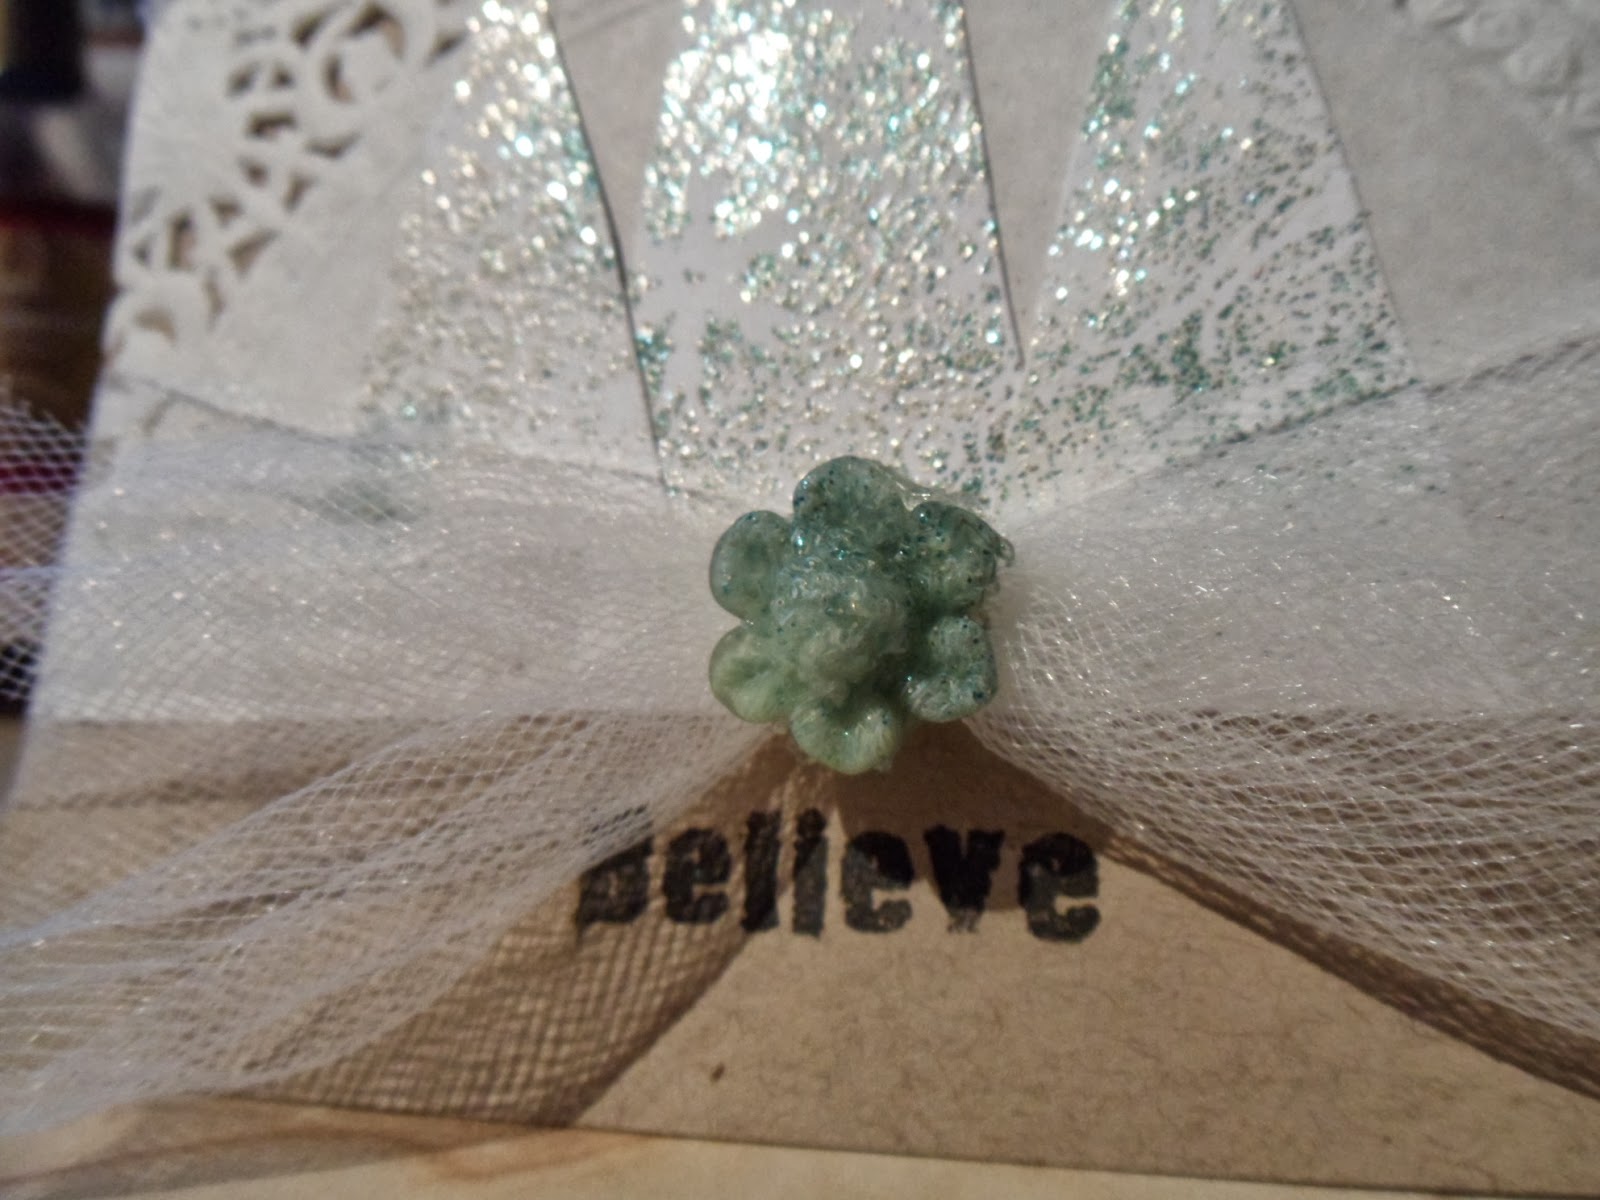
 ...I found that it was soon as pliable as it had been to start with and I was able to produce this little lot within a very short space of time...
...and as you can see, the embossing powder gives it just a hint of colour and sparkle...
 ...I think you can also tell which ones were my second attempts as they show the details beautifully and look a lot tidier around the edges. You really don't need an awful lot of equipment to use this product...
...a bowl, boiling water and I used the tongs to stop myself from scalding my fingers when lifting the product from the hot water but it is soon cool enough to work with your hands...
What did I think of the product?

Well I have to say I was pretty impressed. It worked well in all the moulds I tried and even produced a pleasant effect when I added the coloured embossing powder. You do need to get used to the feel of the product and by my second attempts, I was able to judge the sort of quantity that I needed to use in each of the moulds. The fact that you can return it to the hot water to make it more malleable is a bonus and I also found that you don't have to wait until it has completely solidified before you can eject it from the mould - a great time saver if you need to do multiples of an item.

I have to admit, I was a little concerned about the price - the 500g tub retails at £19.95 - but, the eleven items I made above used less than two tablespoons of the product and if I compare this to items that I could purchase from one of my local craft shops (they make their own moulded embellishments from embossing powder), these eleven items would have cost me more than the tub of ThermoMorph.

The company say that there are other things that you can do with this product but all I have tried so far is the use with silicone moulds.

The product can be obtained from Amazon and having just checked that the link works, I also noticed that the price is currently showing as £17.95.

I am attending an all-day crop tomorrow and I think I'll take the tub along with me so that a friend can also have a 'play' and see what she thinks about the product.......................................................