Followers

Saturday 29 March 2014

Another Step-by-Step...

...and news of a new Facebook group.
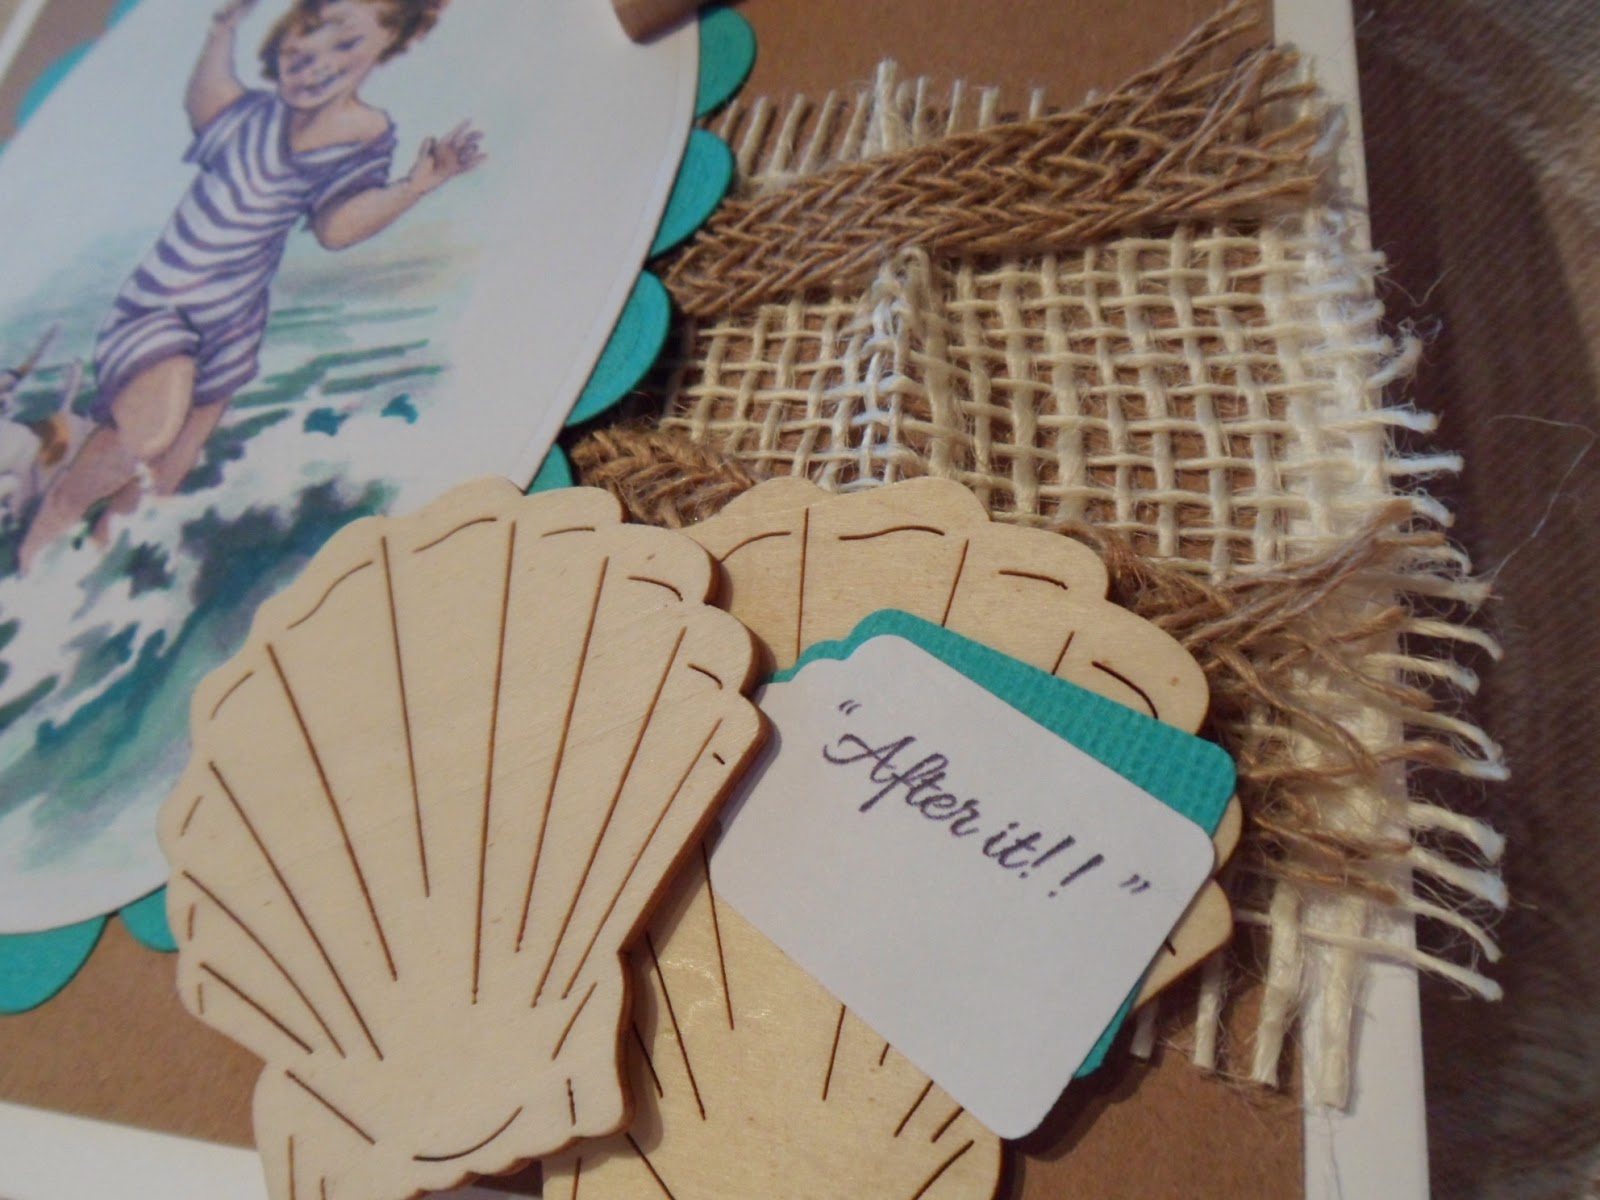
Ignacio (Nicecrane Designs) asked me if I would do another tutorial with an image that he had offered as a freebie to one of my fellow 'teamies' for her new facebook group. When I saw this adorable image, how could I say no...
...and if you would like to try colouring this image you can find it here.

The image is so lovely - I had it downloaded and printed off in the blink of an eye...
...then I had to decide how I was going to set about colouring it in.
Starting with the sky, I gave the whole area a gentle swipe of colour using the chisel end of my pens...
 ...I was pleased with the result that I had achieved with my Fairies and Angels image (previous post) so I decided to stick with the same colours...
...in fact, there were just two colours BT1 (Blue Turquoise) and FS8 (Flesh) - oops, didn't realise the pen was round the wrong way - and the blender pen to bring them together. FS8 is quite a strong colour so I used the blender pen to dampen the area where I wanted this shade and then very gently swiped the colour across. I then used the blender to even out any areas where the pen caught a little too much. At this point the sky was very pale but that is the joy of alcohol pens - you can come back and build up the colour later (if you want).
There was an overhanging branch in the top left corner which I completed next so that I wouldn't be rubbing my hand over the main part of the coloured image later...
 ...I used TN4 (Tan) for the wood, DG1/2/3 (Dull Green) for the leaves and FS1 & 8 for the blossom. You can see that the colour has bled a little - this helps to soften the look of the blossom.
The next stage was to give the ground some colour by swiping with the chisel end of CG3 (Citrus Green)...
 ...the fence and seed bag were also given a hint of colour using EB1 (Earth Brown).
The large areas of grassland were given a quick swipe of DG1 - I have left some of the streaks showing to give texture. The hedges and blades of grass were coloured with the bullet end of the pens in DG2 & 3. The brambles in the bottom right corner were give more detail using CG2 & 3 along with a touch of GB3 & 5 (Gold Brown)...
...the basket was given some colour using some of the Tan shades and I started to add colour to the dog using IG1 & 3 (Ice Grey). A bit of shading was added to the fence...
...the EB2 and GB8 look quite harsh here but by using the EB1 over the top the shades start to blend together.
A touch of BG1 & 3 (Brown Grey) was added to the dog...
 ...and the first shade was added to the skin areas...
 ...FS1 is used here for the first of the fleshtones.
Here is my little copper-headed miss. Shades used to achieve the hair colour are TN1, GB1/6/7...
 ...the smock of the other child was coloured using BGR1 & 3 (Blue Grey) with a touch of TB6 (True Blue). Now this is another area where I made good use of the blender. BGR1 all over and BGR3 for the shadows was rather flat so the blender was used to smooth the shades into each other and to take some of the colour away where the 'light' would be hitting - it also helps to give a slightly faded and worn look. The TB6 was just used to pick out the smocking across the top.
I used GT1/2/3 (Green Turquoise) for the dress of my little redhead...
 ...on this occasion, I started with the two darker shades to highlight the creases and shadows and then used the lightest shade to colour over the top and blend the shades together.
The second child has been coloured as a blond using GB8 & 9 and CT2 (Citrus). A little IG1 to give the children's socks a bit of shape, some blender to take away some of the orangey hews from the basket and a little more BT1 added to the sky...
...and there you have it - all done.
So if you would like to give this a go, don't forget you can grab this freebie...
...by using the link under the B/W image at the top of this post.

Now folks that visit here on a regular basis know that I don't 'do' Facebook. However, my fellow DT member Ginny is setting up a "Christian Card-makers around the World" group over on Facebook and as I know many of you are on Facebook I thought you might want to go and take a look. You can hop over to Ginny's blog to find out more details or go directly to the Facebook group via;

http://www.facebook.com/groups/610077695743800/

Ginny has some super stuff on her blog so I'm sure you will find more goodies on the Facebook group...................................................................................................

Wednesday 26 March 2014

I'm having a lovely time...

...colouring some fabulous images.

There were so many super items in the recent batches that Ignacio has sent out to the DT that I was having difficulty deciding where to start. So I printed out a selection...
...and I can assure you, this is only a tiny selection of what I printed. Even with them printed, I was still struggling to decide where to start and as you can see - I made a start on several (the image in the centre has made it onto a card as you will see in the previous post).
Line drawings of Peter Rabbit...
...which are part of...
...the lovely digi-stamp sheets that you can find here.
Or fabulous fairy folk...

...that Ignacio wonderfully sent to me when I asked about B/W versions of the super images that are part of the pre-coloured set...
..."About Fairies & Angels", which you can find here.

Enough was enough, I really needed to knuckle down and finish some images instead of keep flitting from one thing to another - a bit like a kid let loose in a candy store (oh so difficult when you see all the wonderful images that are available over at Nicecrane Designs).

So decision made, I decided to get this pair of cuties finished...

 ...and I 'played' with the background and the scenery - I hadn't even noticed those mushrooms until I started colouring and I certainly had a good play creating the sky. There were a few "oops" moments when the colour was not quite right or seemed too bold - but that is where the blender pen comes into its own. You can 'take back' the colour to lighten it and also blur the edges so that things blend into each other.

As I've said before, it really is a matter of playing with alcohol pens and you will soon find that there is rarely something that can't be put right.

Here is the finished image...
...I love the subject and just in case you can't quite see...
...yes, I did add a bit of sparkle to their wings. Now I just have to make up my mind what I am going to create with the completed image.
In the meantime, I just had to have a go at colouring this wonderful mushroom...
...I love it and I'm really pleased with the way it has turned out...
...this is a 'work in progress' and I now have to make up my mind what colour outfits I'm going to give this fun pair.

Ignacio has now released the digi-stamp version of these images over on the Nicecrane site. You can find them here...
...and if you look closely, you can see my name down in the bottom right-hand corner of the pre-view sheet. One of my partially coloured images has been used as a sample. **happy dance**

The rest of the DT are having a fabulous time with all the new Spring and Easter designs over on the Nicecrane blog.

As for me?

I'm away with the fairies................................................................


Sunday 23 March 2014

Sun, Sea and...

...a wonderful selection of images to colour.

Ignacio sent me a fabulous collection of digi-stamp images to colour and one that immediately took my eye was from one of his new Nicecrane Design images sheets - "Playing Kids by N.Brisley".

How could anyone not fall in love with this cutie...
...no sooner had I printed the image, than I was merrily colouring it in...
 ...as usual, I started with the basic flesh tone but I so wanted to try colouring the sea...
 ...this was a first for me and I wasn't sure how it was going to turn out. Dipping into the Spectrum Noir Blue Turquoise (BT) lighter shades, the Green Turquoise (GT) and a touch of the mid-range Jade Green (JG), I have to say that I was rather pleased at the way it came together.
I really do love to use 'ginger' hair colour...
 ...I thought it looked so alive and fun.
Then of course the puppy needed a bit of colour...
 ...what a sweet paddling companion.
I have to say that once the image was coloured, I sort of ground to a halt as I didn't want to cut the image out as a rectangle but I didn't have any dies of a suitable size. I do not own any of the larger sets of dies because I have a Big Shot cutting machine and the maximum width that it will take is just about 6". A trip over to Barleylands and a chat to Andy in Pinnacle Crafts resulted in the discovery that some of the larger oval dies will go through my machine...
...so oval it was - plain for the image and scalloped for the matt...
 ...I decided on an aqua coloured matt so that it would stand out from the sandy colour of the kraft CS, jute and hessian.
DoCrafts have some "Scrabble" letters in their Papermania "Bare" range...
...there are a good number of tiles in the pack for the price but I did find the variety of letters a little limited.
The jute tape is also from the Bare range and the open weave hessian was from my stash...
 ...the wooden shells were the only seaside type embellishments that I could find but I think they work well.
I love this image as it gives the impression of carefree Summer days...

...certainly something that we all need to look forward to.

If you would like to have a go at colouring this cutie...
...or other similar images. Just pop over to the Nicecrane site and you can find the design sheet here.

This has been a very wet dull Winter and although we have had a couple of warm weekends which seemed to herald the coming of Spring, we now seem to be back in the cold, wet & windy weather. If you would like something to brighten your mood, do hop over to the Nicecrane blog to see what the Design team have been up to and go and have a browse through all the super designs that are available over on the Nicecrane site...............................................

Thursday 20 March 2014

The first day of Spring...

...and the Sun is actually shining.

Yep, looking out of the window it looks like a lovely day (but boy is it chilly out there).

So, Spring has sprung but I don't think folk will be stripping off and heading for the beach again this weekend as the forecast is not good **sad face**

Apart from being wet & chilly, this weekend is supposed to be full of Sport Relief events - supported by Sainsbury's the supermarket chain.

Red Nose Day takes place every year here in the UK. In odd numbered years we have Comic Relief where tons of celebrities encourage us to "do something funny for money" and in the even numbered years we have Sport Relief where the idea is that we do something sporty.

Our office always try to support Red Nose Day but the 'sporty' years can be a problem - we have had sponsored bike rides, runs etc. but it is difficult to have something in the office that everyone can take part in...after a lot of thought, we have gone with weightlifting.

Yes, you did read that correctly, it does say Weightlifting!!! However, before anyone starts to panic...take a look at the weights we are asking folk to lift...


...we are having a Book Sale (with some CDs & DVDs thrown in too).

Staff have kindly hefted their unwanted weights (books) into the office and then after some weightlifting (picking up books/CDs/DVDs whilst browsing) they have parted with some cash and hefted a new selection of weights home with them.

We have been given a fabulous selection of items, many in 'near new' condition and most folk have given more than the minimum requested £££ Many staff saw it as a chance to have a bit of a Spring de-clutter only to head on home with more than they donated in the first place **rollseyes** but it is all in a good cause.

Our weightlifting will continue until next week when we have made arrangements for the remains to be split between a local book charity and someone who has offered to take the rest for a fixed price per item.

Are you doing anything 'sporty' for Red Nose Day?....................................................................


Sunday 16 March 2014

A bit more colouring and a Freebie...

...to help get you in the mood.

Nicecrane Designs have a wonderful collection of image sheets and this is one of the latest...
..."Enchanted Spring" which you can find here and if you hop on over to the Nicecrane blog, you will find some wonderful creations that the DT have used the images from this sheet on.

However, what do you do if you have something in mind and these images are perfect but the colours are not what you wanted...well, if you are a bit techy you can play around with them in one of the various graphic programmes that are widely available but if like me you are a bit of a numpty when it comes to things 'techy', what do you do?

Nicecrane have lots of lovely 'digi-stamp' images sheets and they are great to colour - you really should go and have a browse here.

I loved the image in the top left of the pre-view sheet shown above but it wasn't the colour that I wanted. The fabulous Ignacio sent me a digi-stamp version and this is what I did...
 ...I have coloured the image using Spectrum Noir alcohol pens. I have softened the colour of the flowers around the edge by making them more of a peach shade and I have changed the colour of the character's outfit to turquoise but that wasn't all that I did. Whilst colouring, I wondered what the image would look like in more sepia tones...
 ...using the brown-greys (BG) from the grey range and FS1 from the flesh range, I started to colour the image again...
 ...gradually adding deeper shades and starting to blend them in with the use of the FS1 and the Blender pen...
 ...the brown-greys come in 10 shades but I thought it would be too dull to leave it at this, so I added some of the lighter tan shades - TN1, TN2, TN3 and TN4 to brighten the image...
...and as you can see, this image looks very different from the first one I did with the turquoise dress.

Don't be afraid to 'play' with colour - what is the worst that can happen? You waste some time and possibly spoil a bit of CS but you will have learnt what works for you and what doesn't

Ignacio very kindly sent me a little something to share with you...
...here's your chance to grab your very own freebie - Download here.

I would love to see what you do with your freebie so please hop back here and let me see what you get up to......................................................................