As I said in my earlier post, I loved the idea but the style of the calendar I made in class was a little too cute for me so I have come up with my own version. Here are some brief instructions for anyone interested in having a go.
The materials used were; 1 sheet of A4 black card, 1 sheet of A4 silver foiled black card, images from a Deco lady decoupage/topper sheet, piece of ribbon, slimline note paper and a purse-size calendar.
 I have found that different brands of paper/card despite claiming to be standard A4 all seem to vary a bit measurement-wise so for these instructions I will not give any specific measurements. I measured the short end of my A4 card and then measured the same distance along the long side - scored and folded so that I would have a square.
 The foiled card was cut to provide a square for the front and a panel for the back. The notepaper was cut down to fit and the "Deco" images cut out.
 The back of the calendar has a pocket made from the flap created by the scored fold. This was stuck down using Redline DST (very strong) at each side and the panel of foiled card was stuck on using DST to decorate and add a bit of strength to the pocket. The panel was cut to leave just a small black border. The small Deco topper was stuck on - to one side just as a decorative accent. The remaining narrow strip of foiled card was stuck across the top to hide where the ribbon for hanging is attached. Again, this is slightly smaller than the black card so is attached leaving a small border from the top and sides.
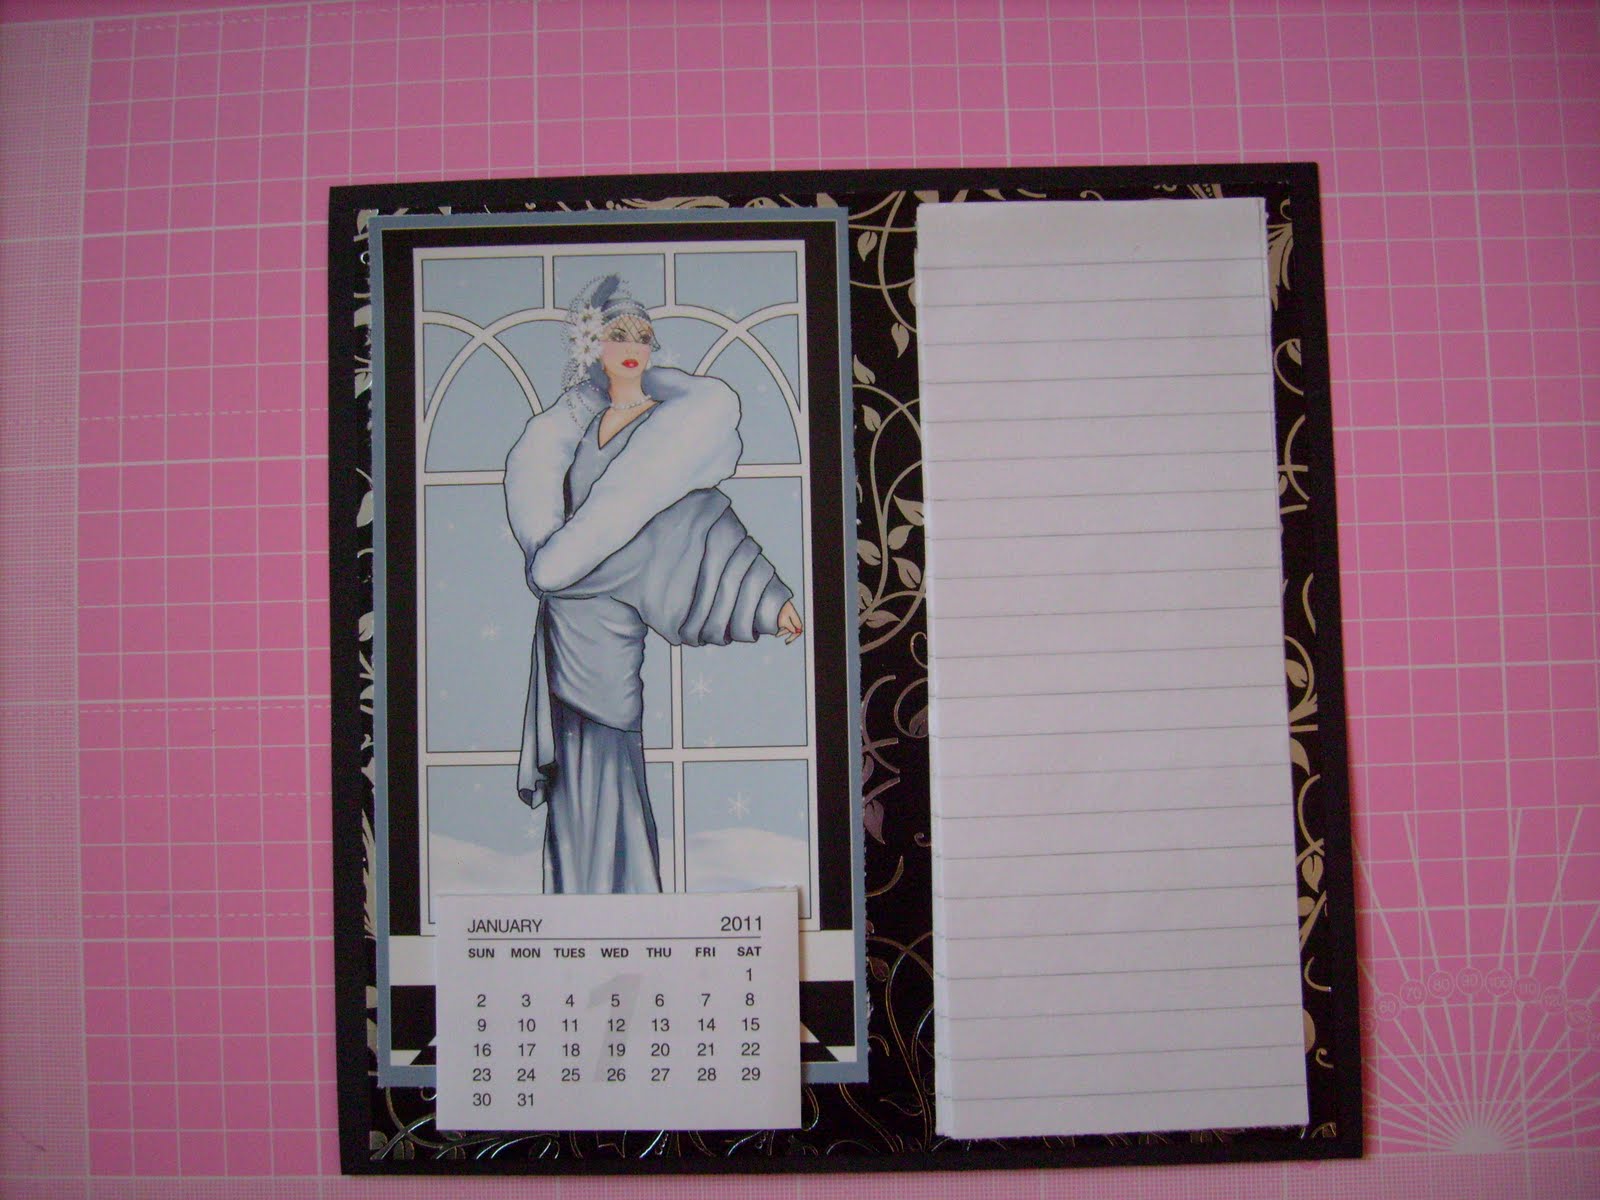 The front of the calendar has a square of the foiled card attached with DST - this is slightly smaller than the black base card so there is a tiny border all the way around. Leaving a small border of the foiled card to the top/bottom/right side, the notepad was attached. The larger Deco image was attached leaving a small foiled card border to the top & left side (ensuring the top edges of the image & the notepad line-up evenly). The calendar was then attached with DST at the bottom of the image - leaving a small border of foiled card showing at tne bottom.
And there you have it...a bit more grown-up but still quick and easy to make and could be made with little effort to help with sales for the Christmas fayres. Hope you like........................


7 comments:
very glamorous :) thanks for the tutorial
Great calendar! Thanks for sharing!
Debbie x
Shes beautiful Misty! Love the black and pink! So stylin!
Thanks so much for posting about my giveaway, your a doll, best of luck GF!
hugs Lynn
I guess its not pink but blue, the background through me! red in face!!!!!!
Oh lovely calendar Toni, I bought some stuff to make some the other day and now you have given me a lovely tutorial on how to do it!! Thanks!
Yes, much more grown up! I like it!
simply faaaaabulous Daaahing. :) Thanks SO much for stopping by Passionately Artistic and leaving such a great comment! :) I really appreciated the encouragement! Hope to see you around soon! :)
Post a Comment